The story of the Frazer Nash build starts with Tuco calling myself and Pedro over to his shop to lend an extra hand as he built a “cyclekart”. We had never heard of them before, and once we saw what he was building, we were hooked.
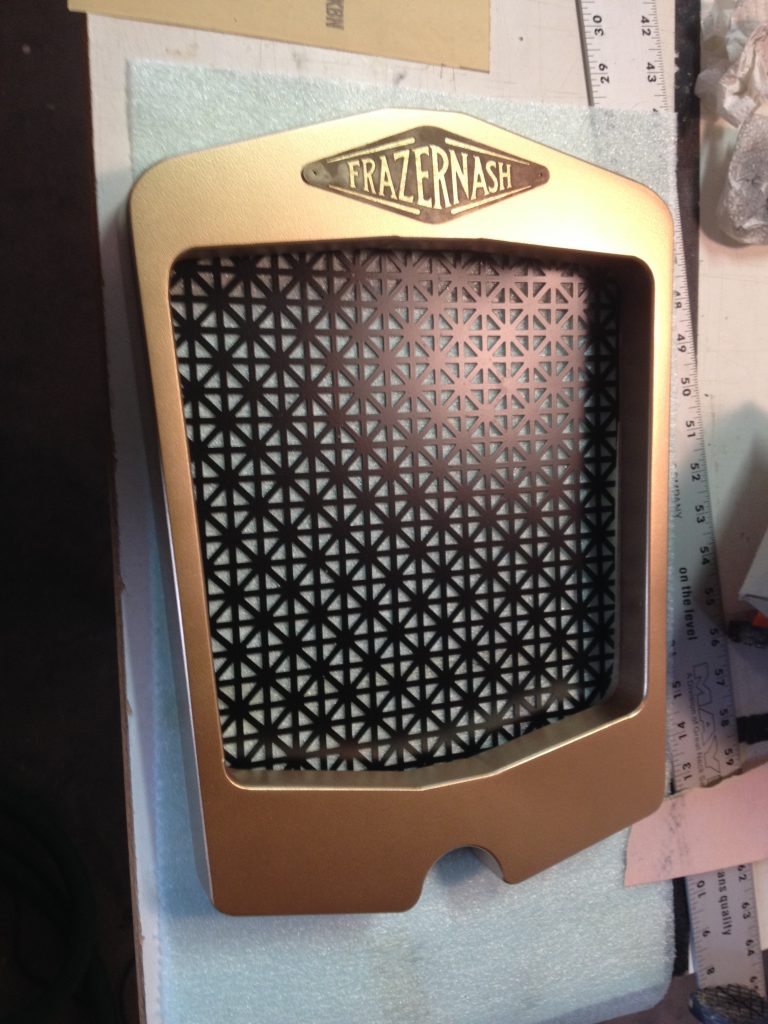
For a first time build, Pedro and I decided to keep it simple. The Frazer Nash Super Sports fit the bill. The variations of forms in the Frazer Nash lineup allowed us to take some liberities with the design, as no two of them are alike, and the forms were uncomplicated. After many, many hours drawing and redrawing the three views to scale ( 1:10 in Adobe Illustrator ) to get the proportions right, fit it within the Gittreville constraints, and make sure our 6 foot (+/-) frames fit inside, we finally advanced to the shop.
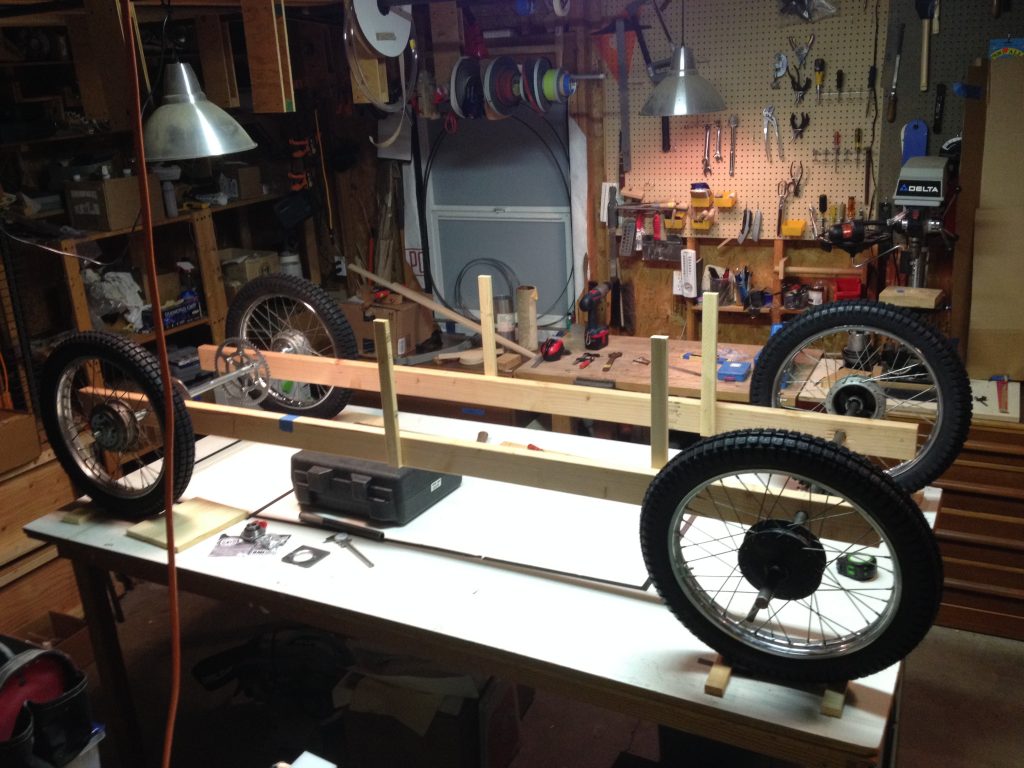
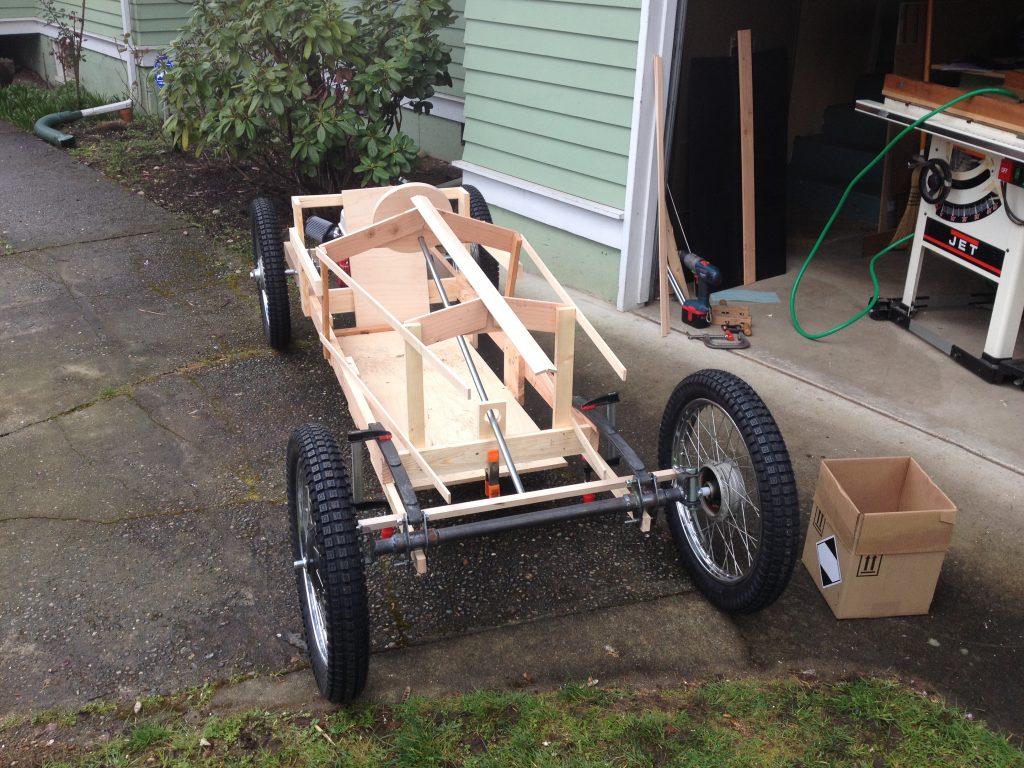
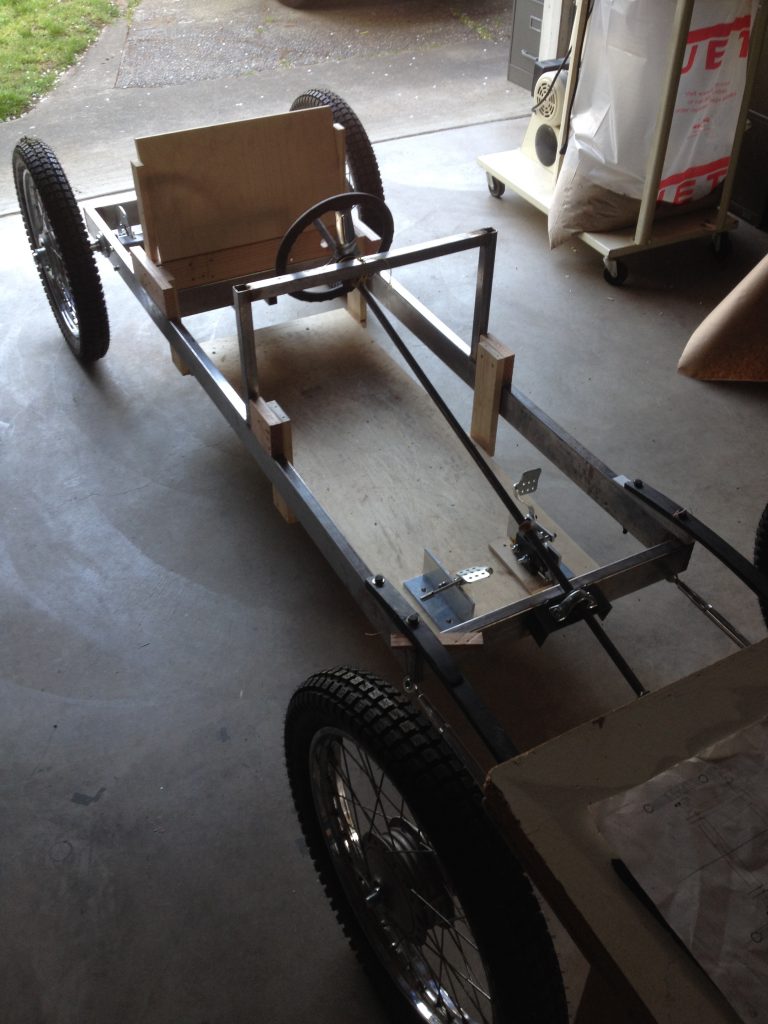
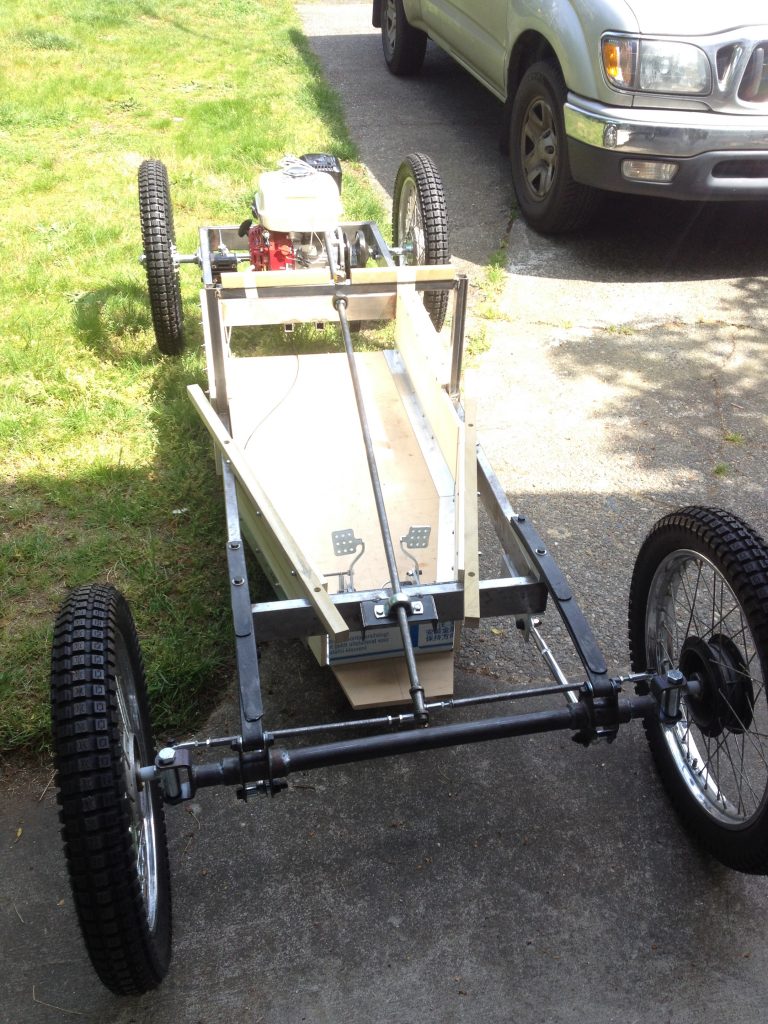
Tuco sent us a basic bill of materials and Pedro started hunting parts down. Proceeding with caution, we used scrap wood resawn on the bandsaw for a full size mock up to make sure everything fit, including us. We had the wheels and axles at this point to include in the mock up.
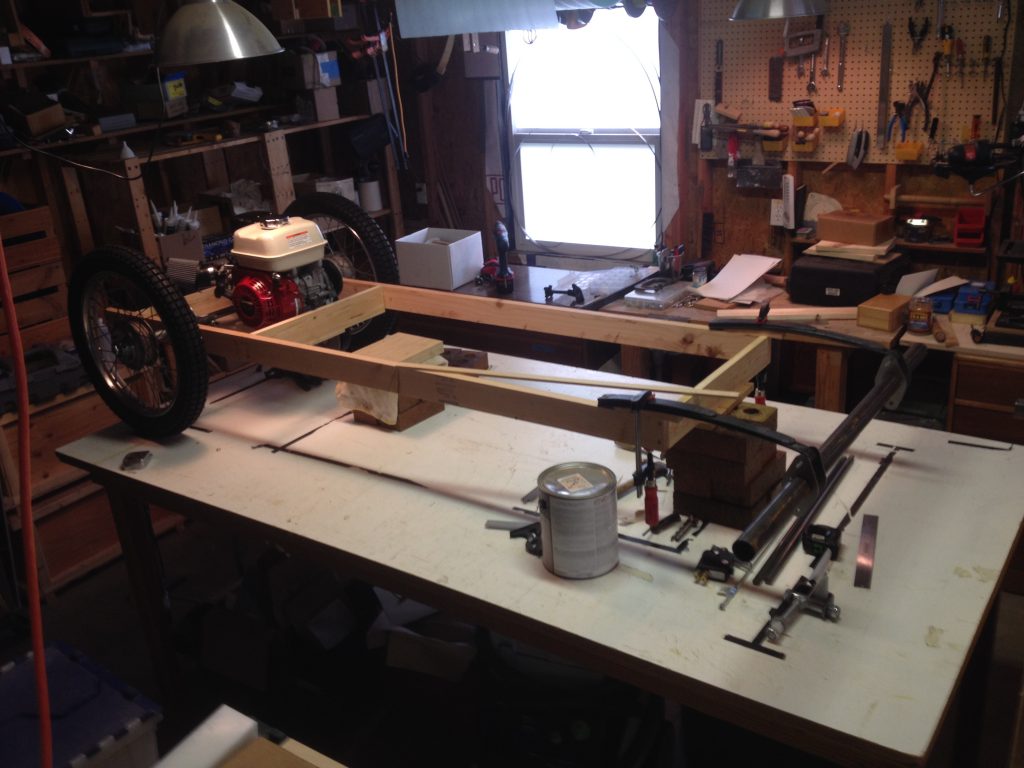
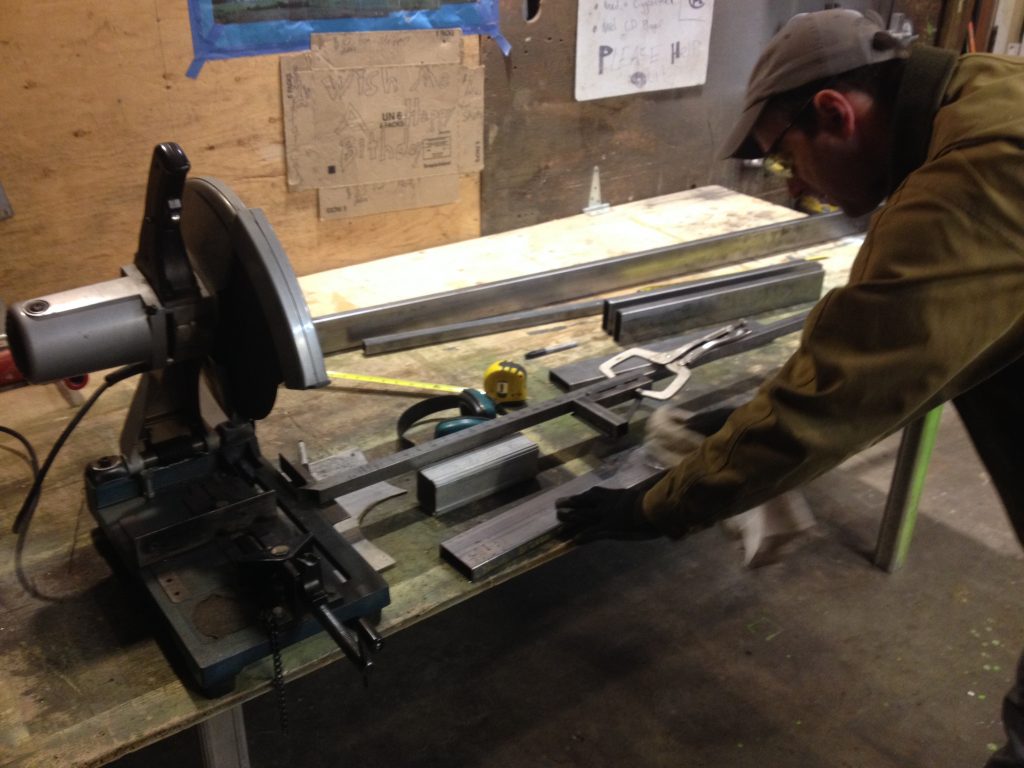
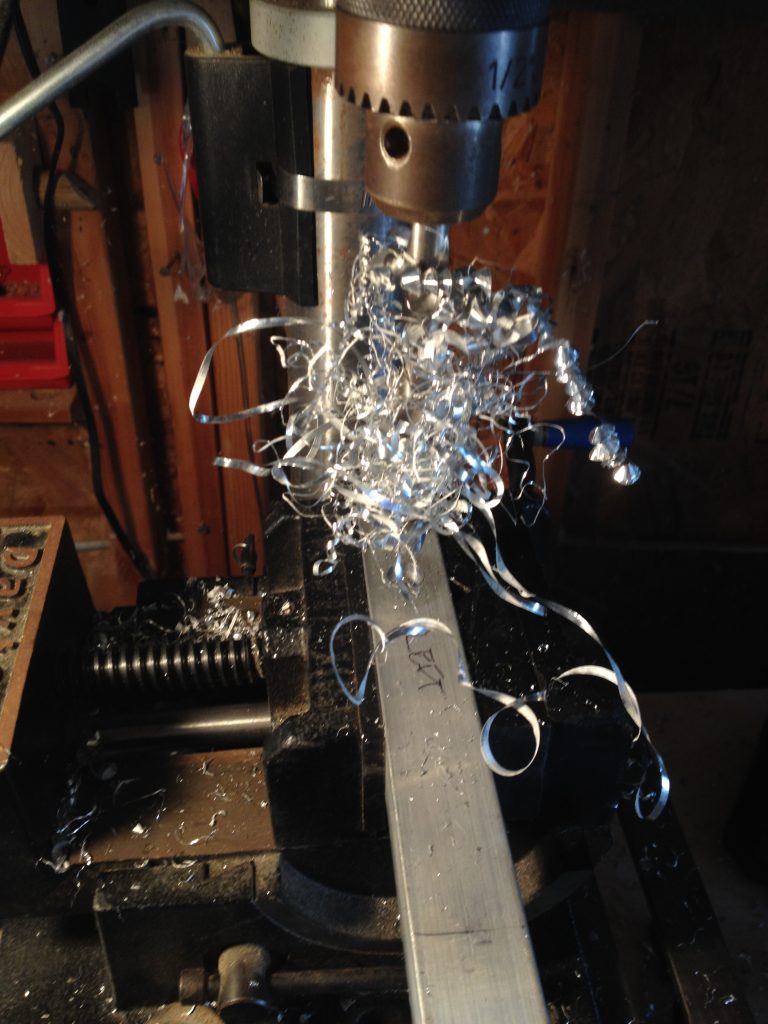
After drawing up shops for the metal parts and assemblies, we ordered laser cutting for the rear hub plates, engine mount, and the brackets on the axle. A trip to Far West with a hack saw to cut up the 20 foot lengths of tube steel so they would fit in my Tacoma left me covered with grease. My timing was less than perfect, as my next stop was my daughter’s school for Daddy and Donuts. There were a lot of puzzled looks from other dads.
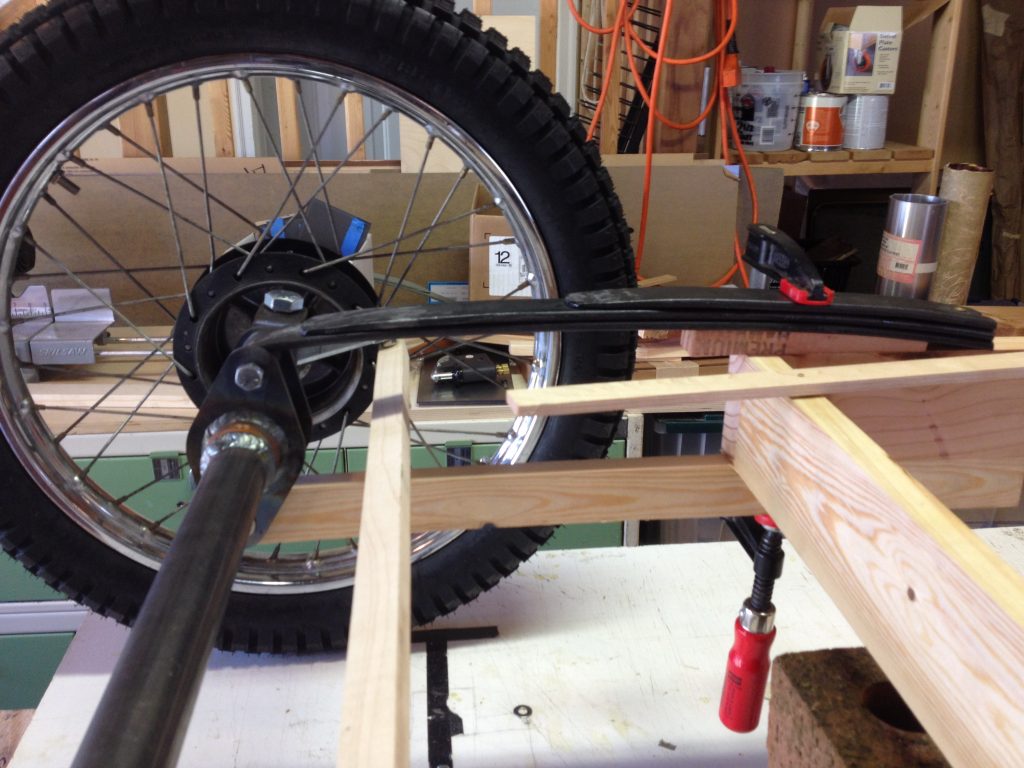
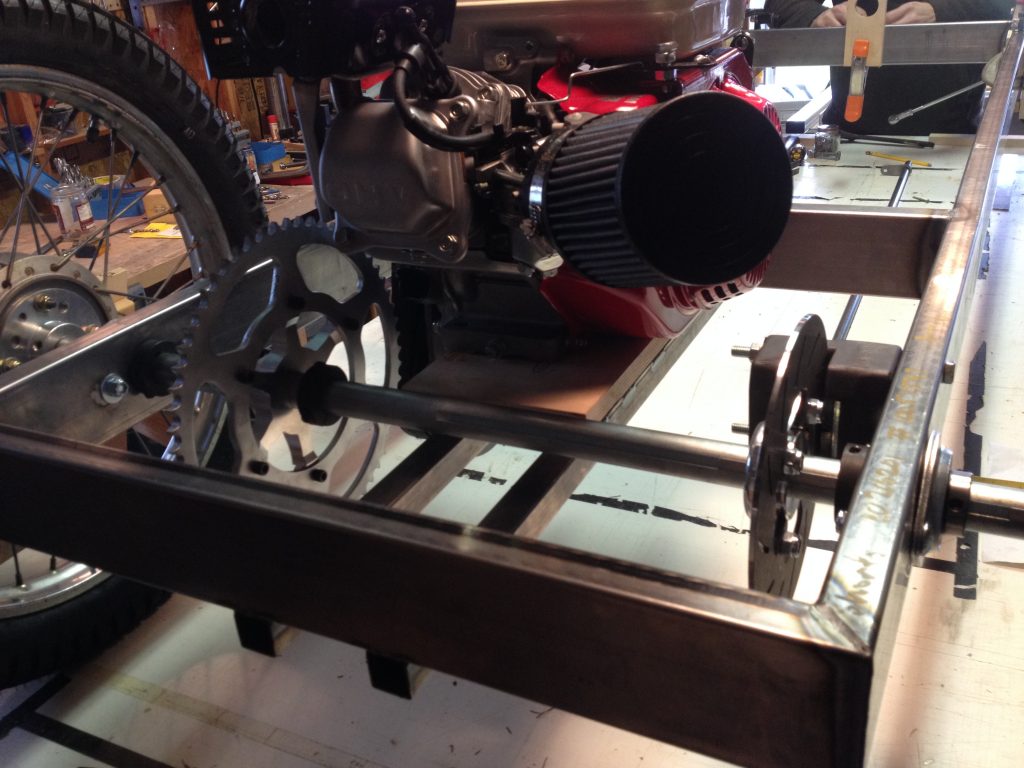
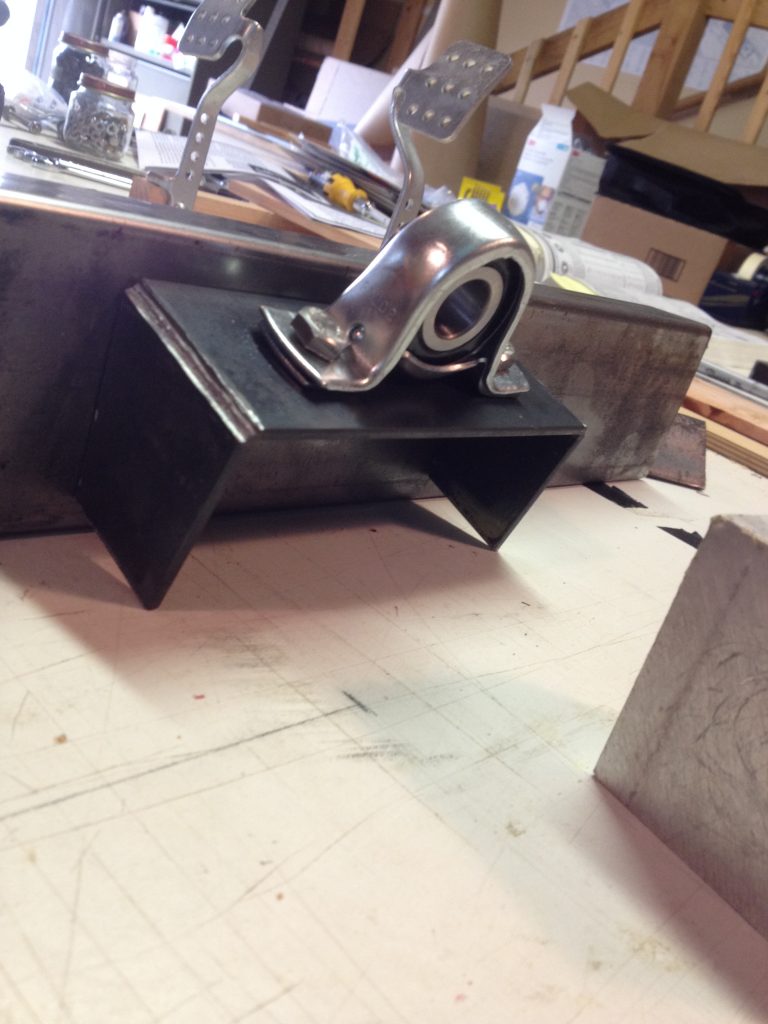
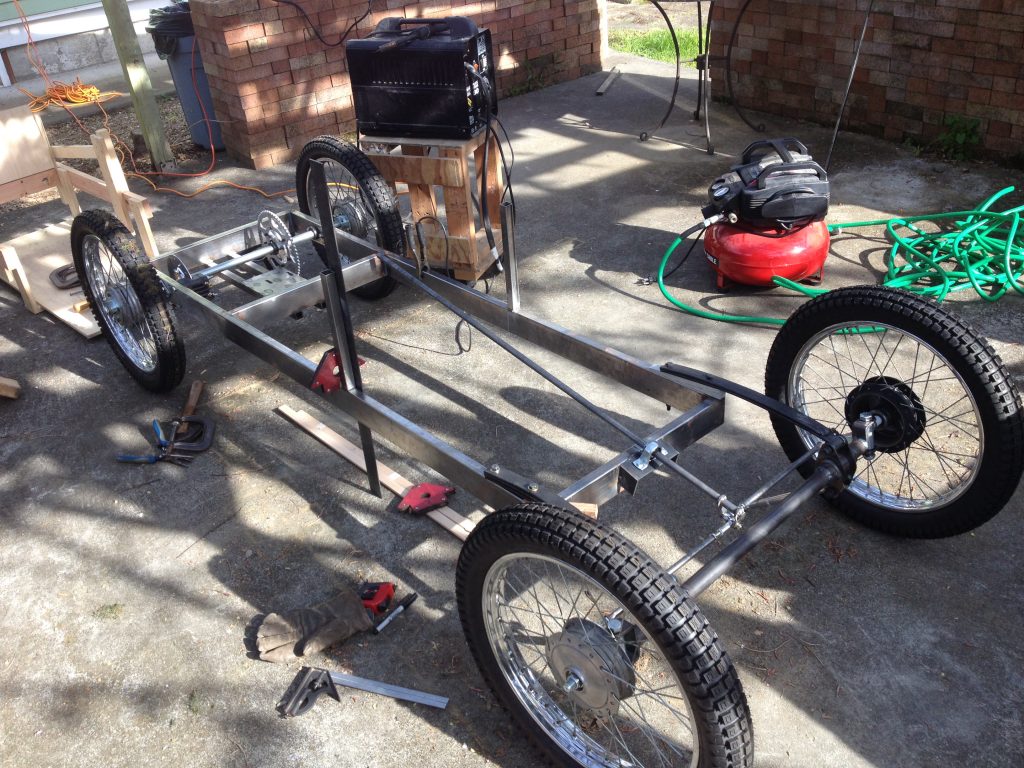
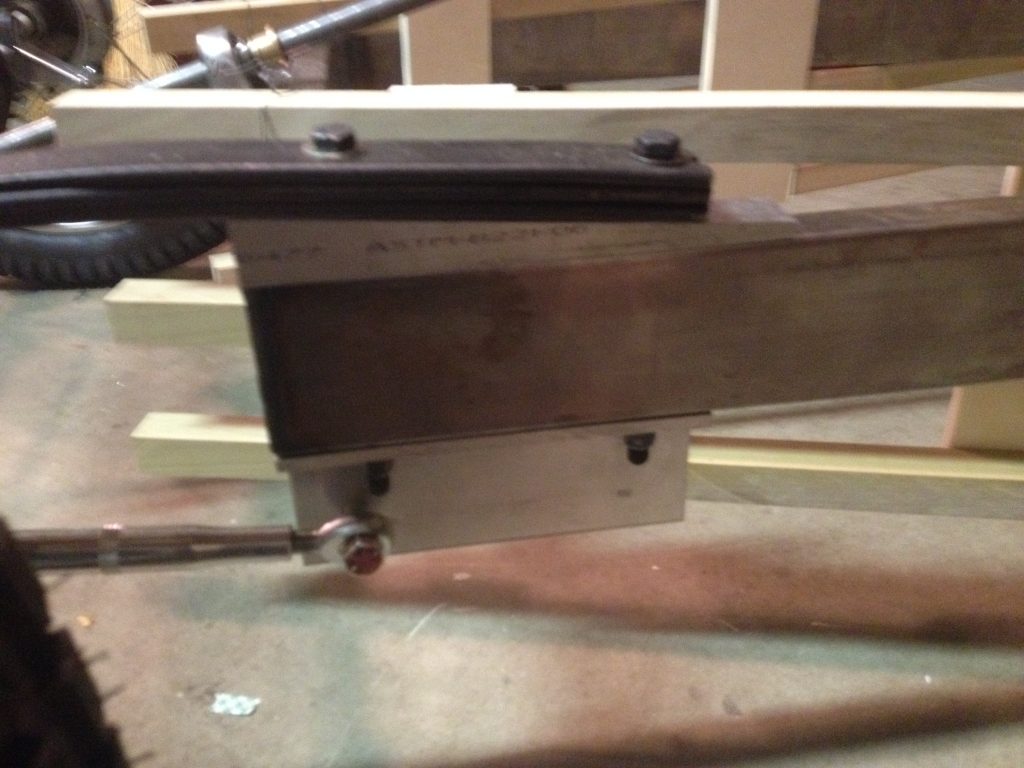
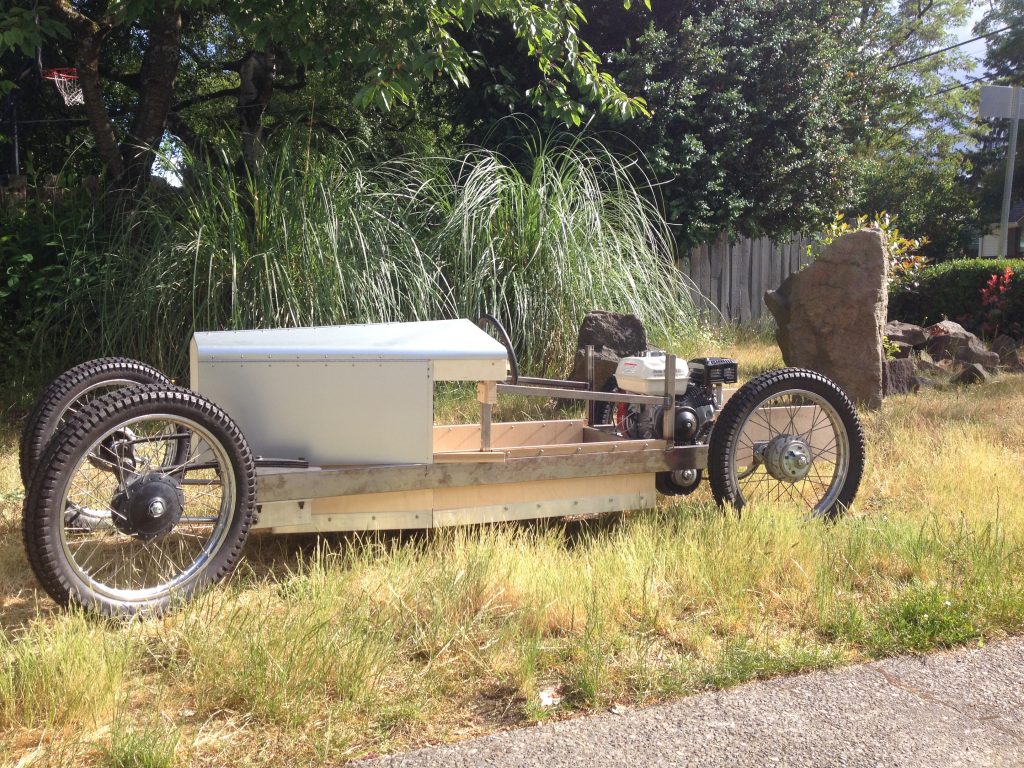
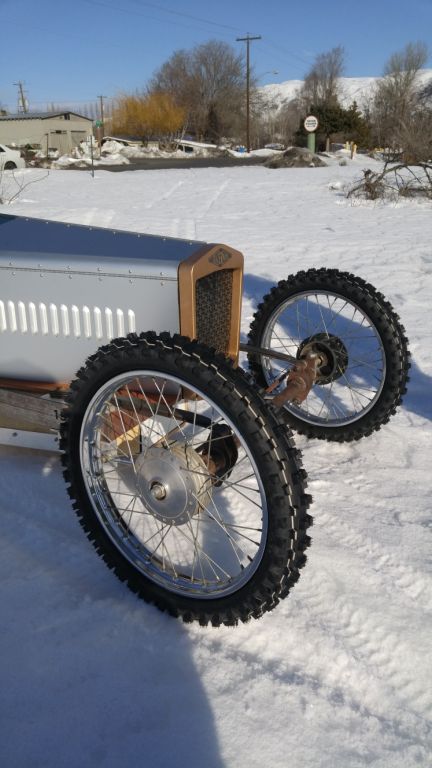
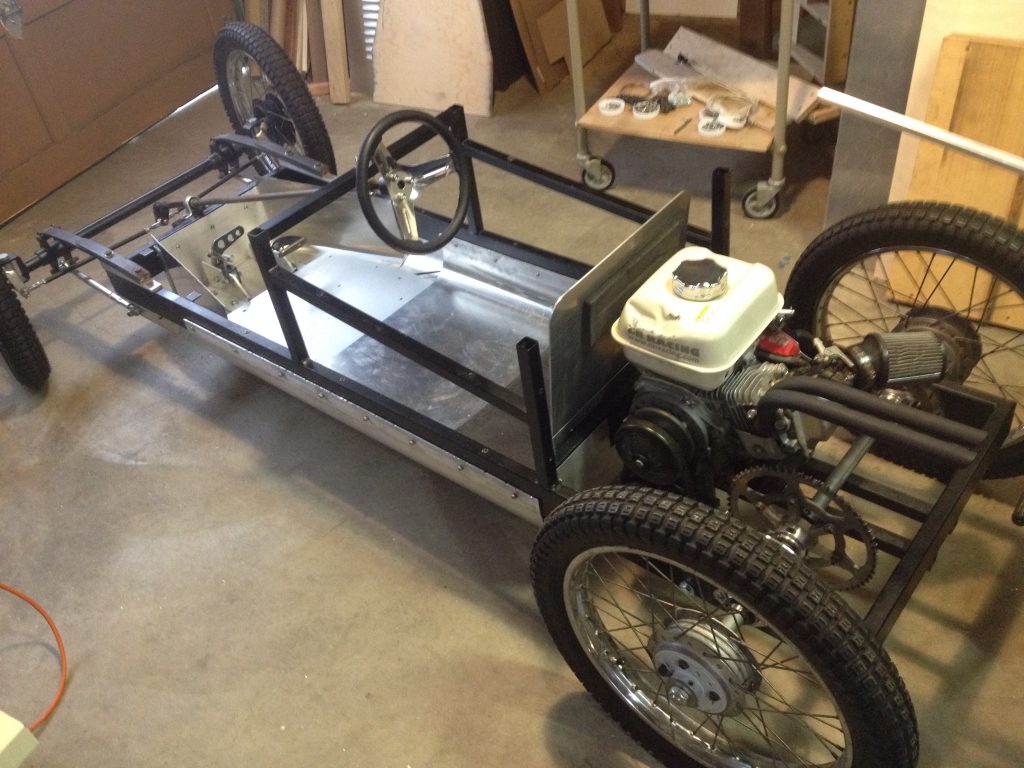
We simplified the front axle, using a straight tube more reminiscent of the earlier GNs. The frame is 1 x 3 x .060 steel rec tube welded into a simple rectangle with one cross member at the back and (2) lateral 1 x 1 tubes in the engine compartment with the laser cut engine mount welded to them. With all the parts in the back of the truck, we headed up the street to Bruce Waynes’s shop where he “has the technology”… and the know how. Mr. Wayne assisted us with TIG welding up the frame and the axle. The difference between our welding attempts and his are not hard to find.
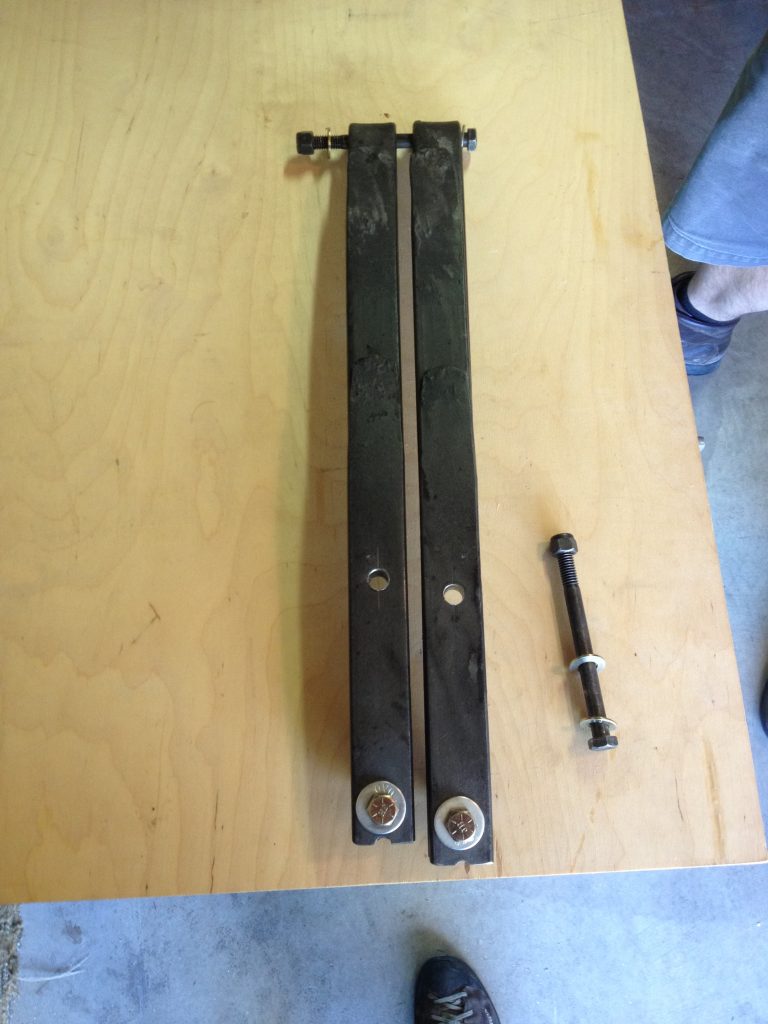
The rolling chassis just required the springs connecting the front axle to the frame. We had our leaf springs in the shop so I disassembled them and started cutting them with a grinder wheel on my dremmel ( yeah, a dremmel ). It cut surprisingly well. What I did not realize at the time was that the holes I had decided were in the center of the spring were actually offset a bit. That discovery was not made until after we had finished the kart and noticed that the front axle was not parallel to the frame. But hell, it still performs so we have felt no need to fix this quirk. I think I ruined enough drill bits making the additional bolt holes that the cost in bits was more than the damn springs, so we are living with it.
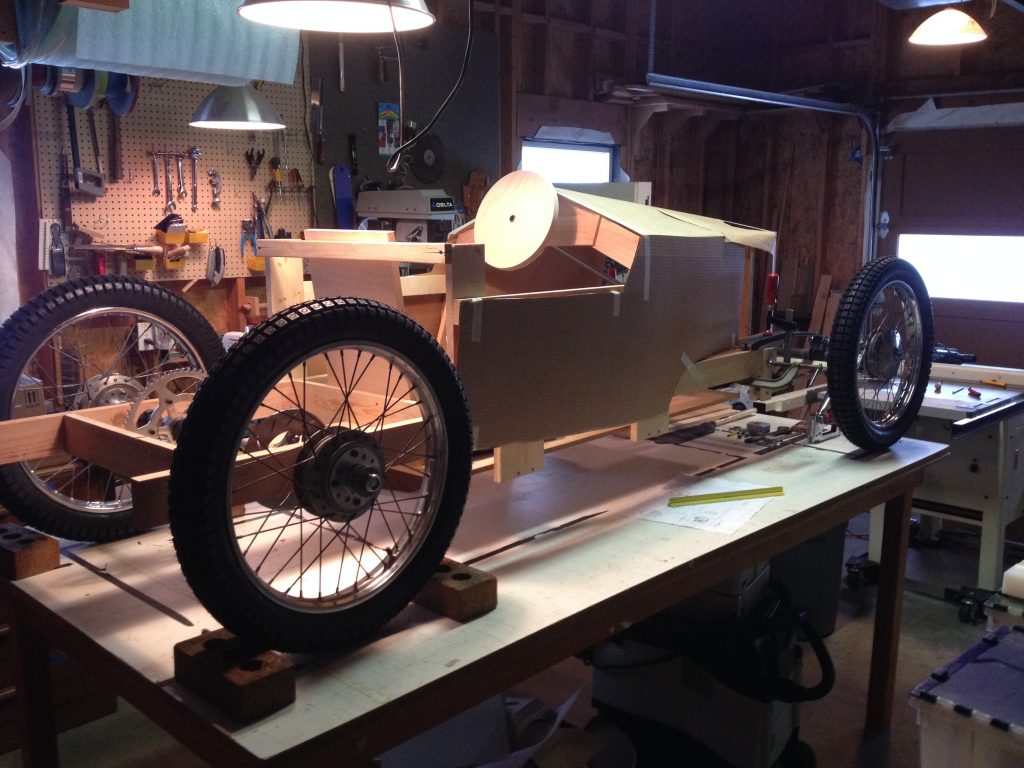
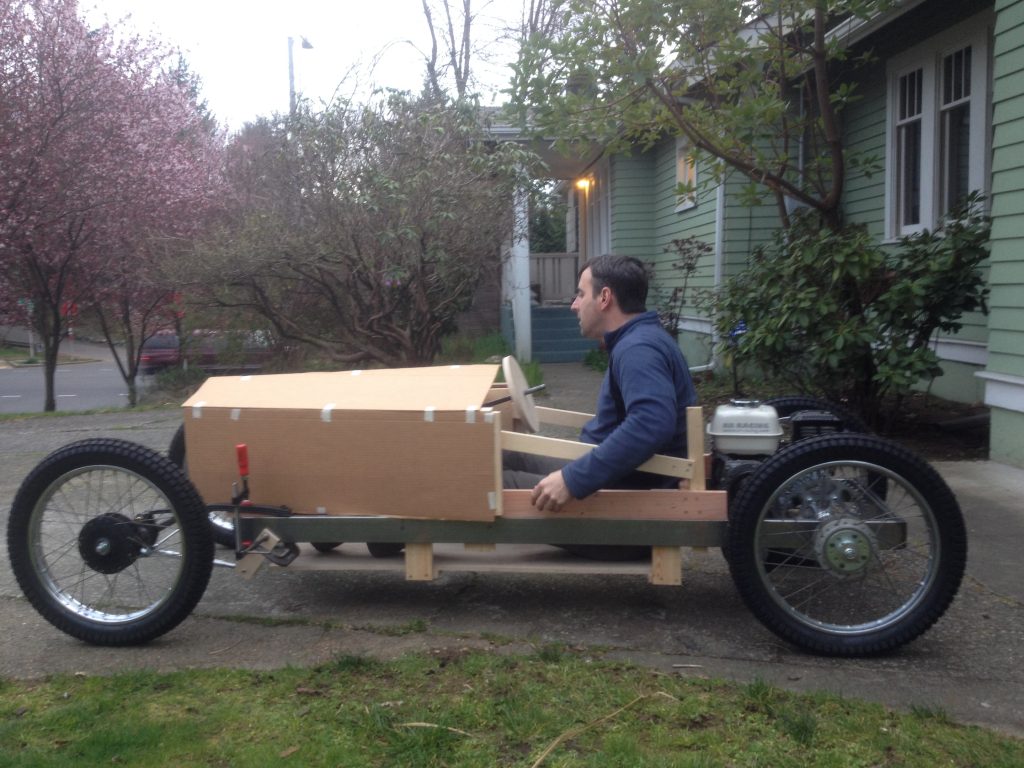
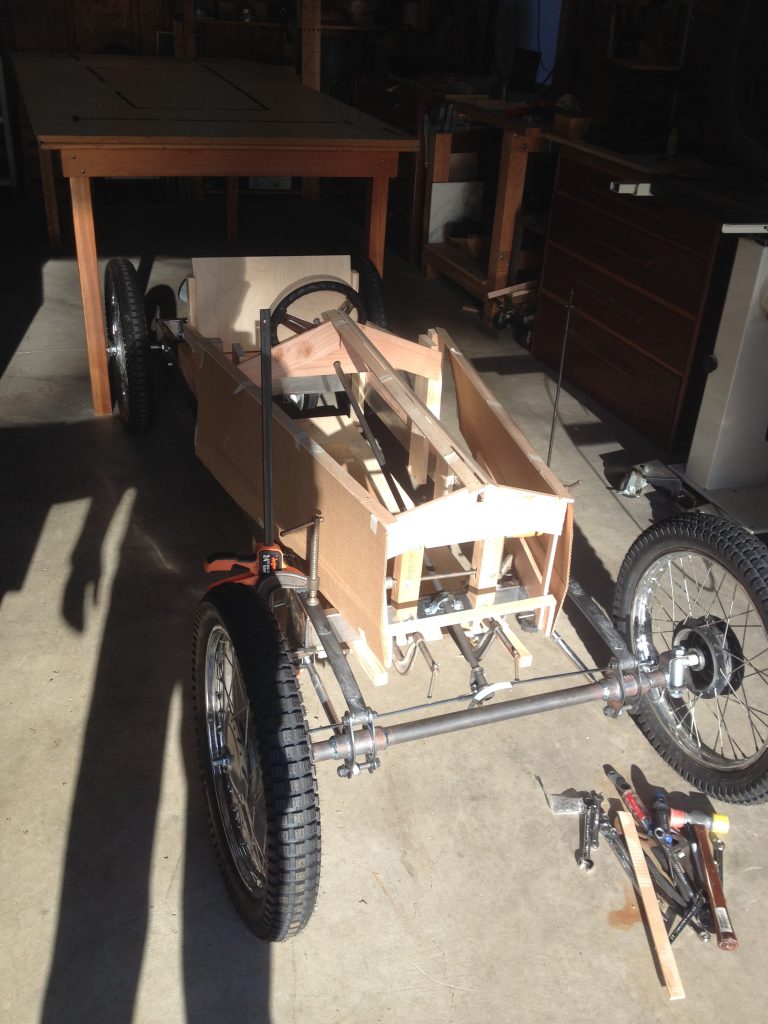
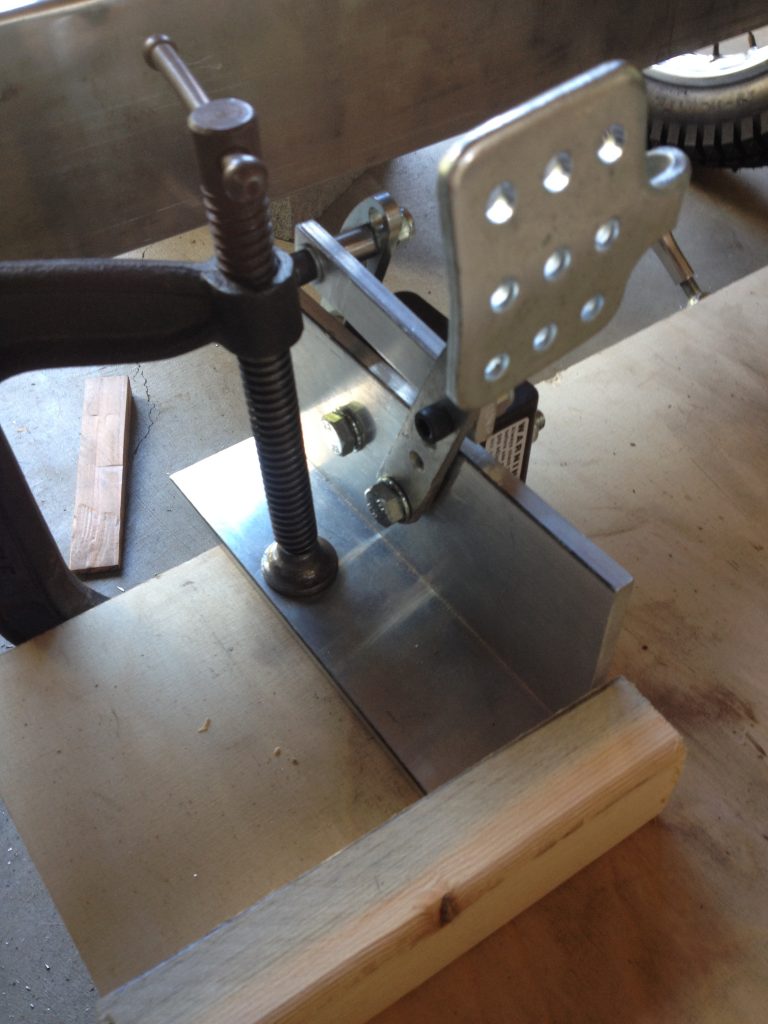
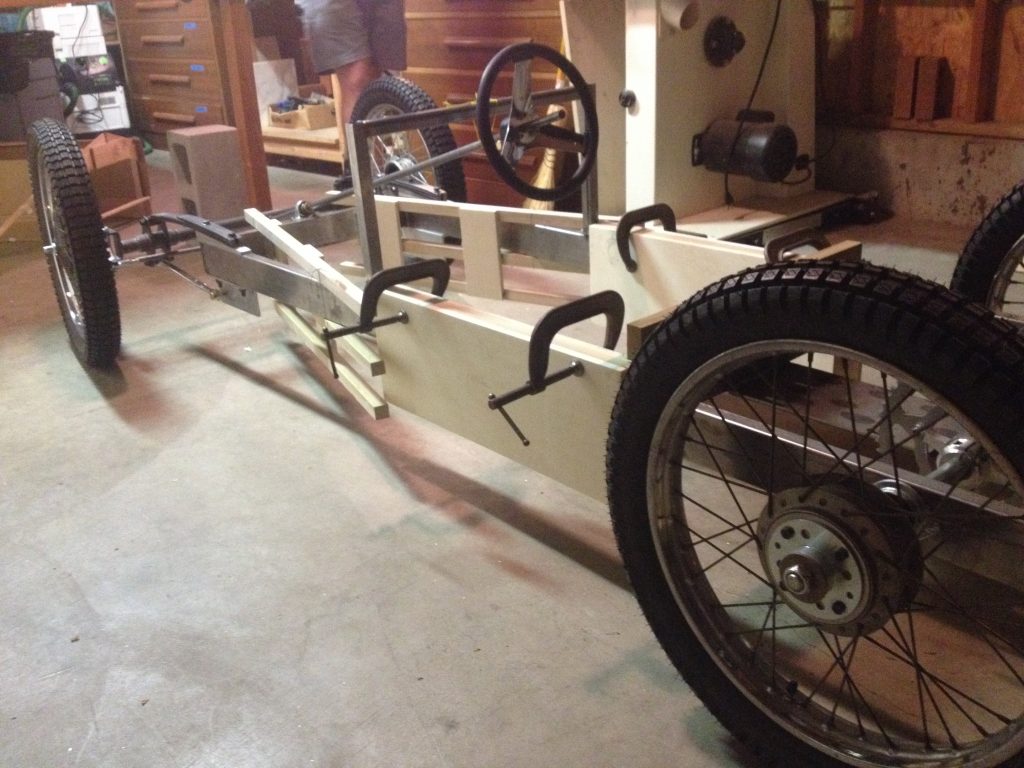
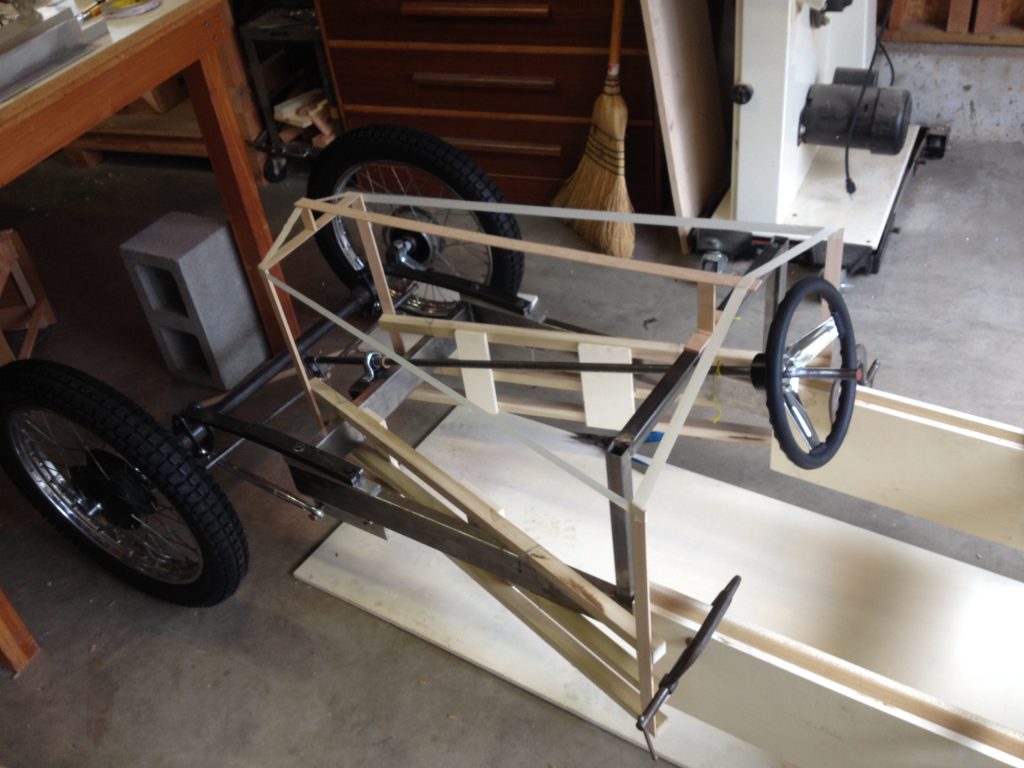
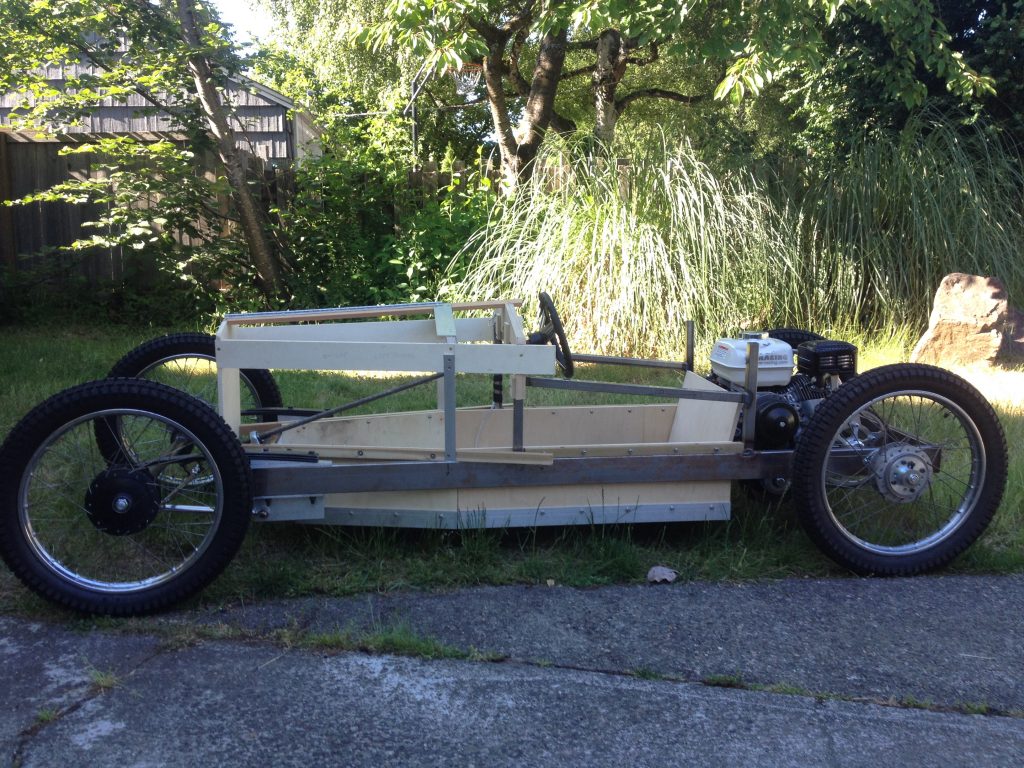
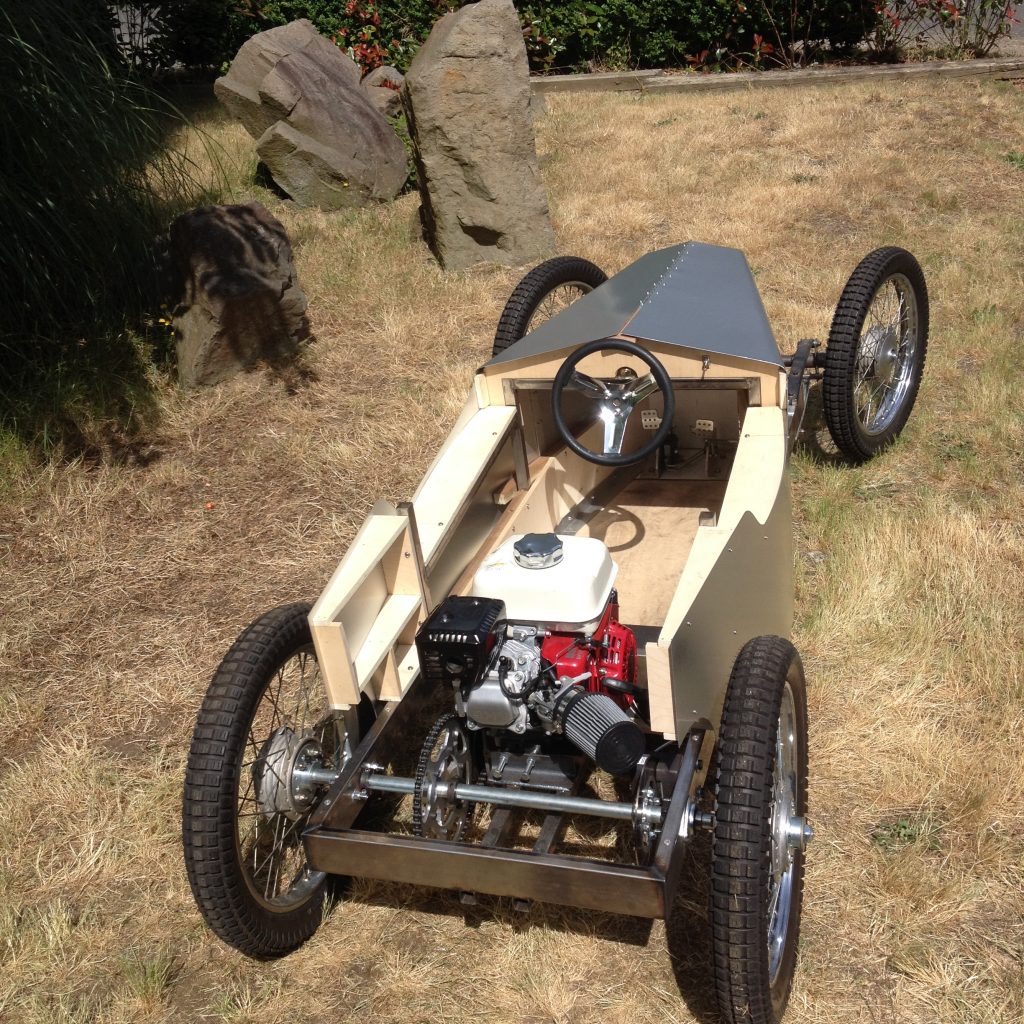
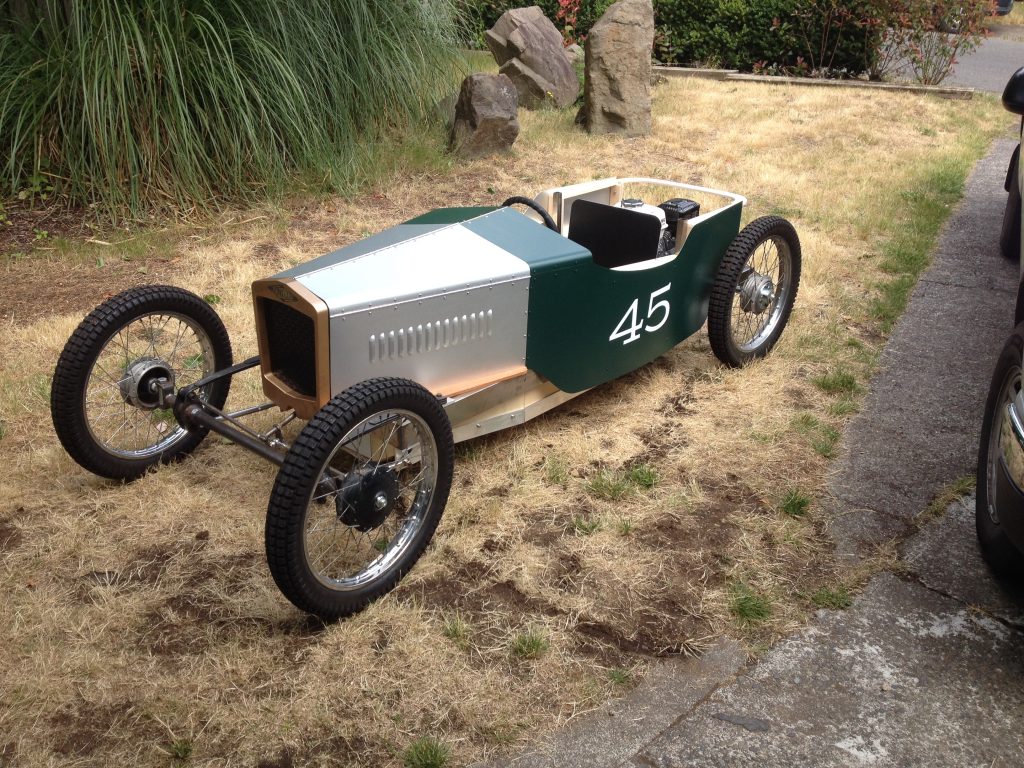
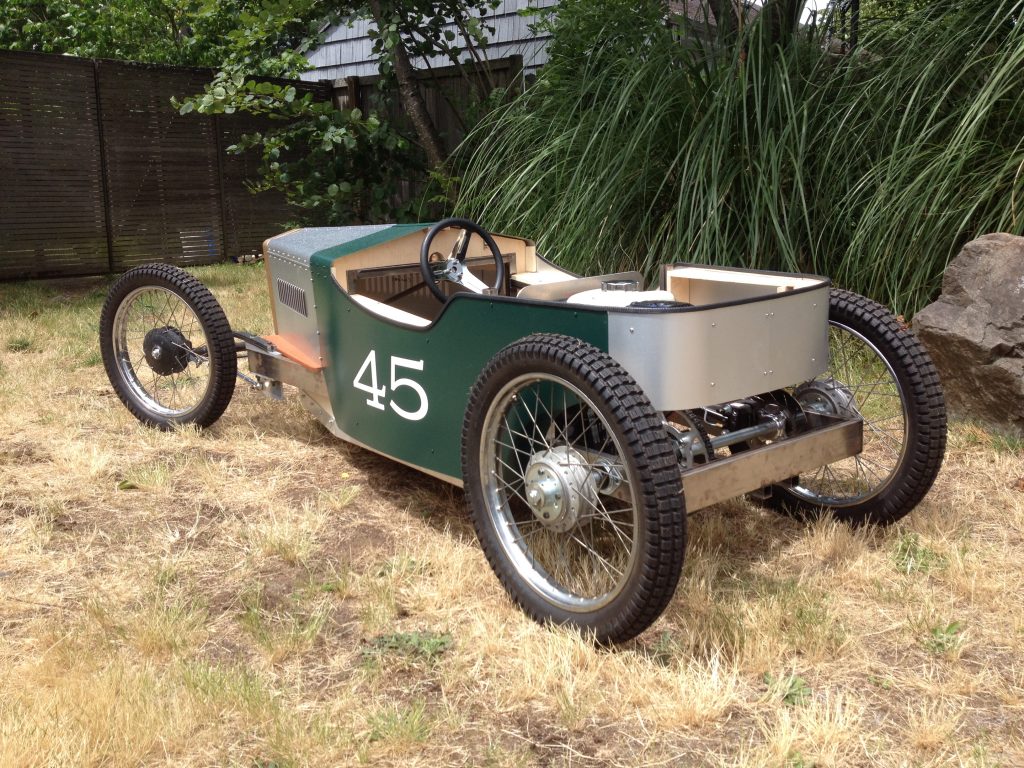
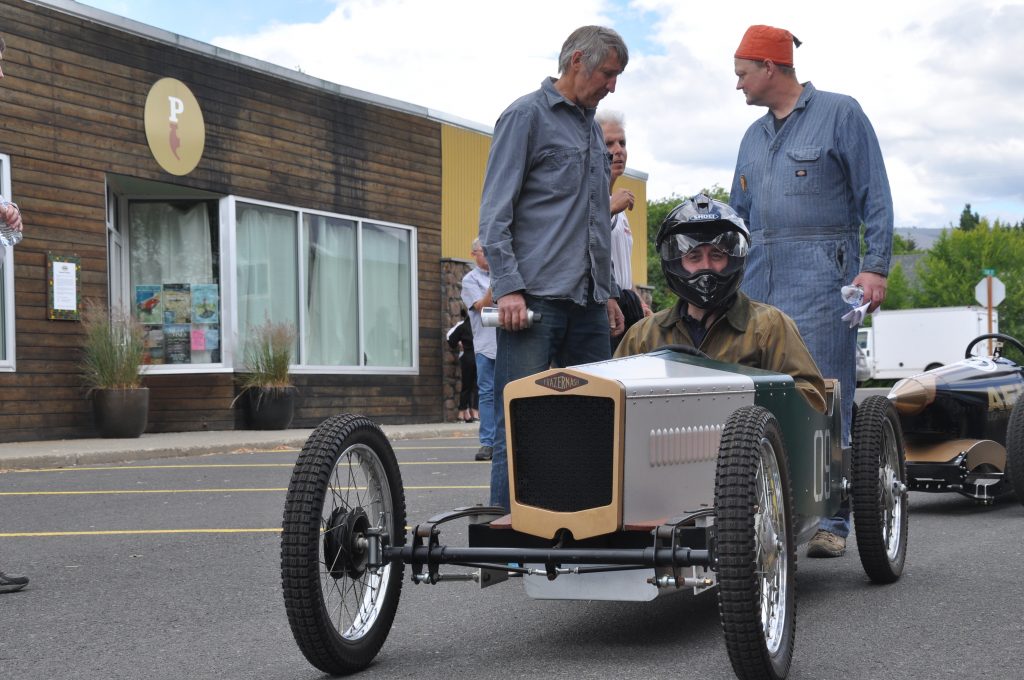
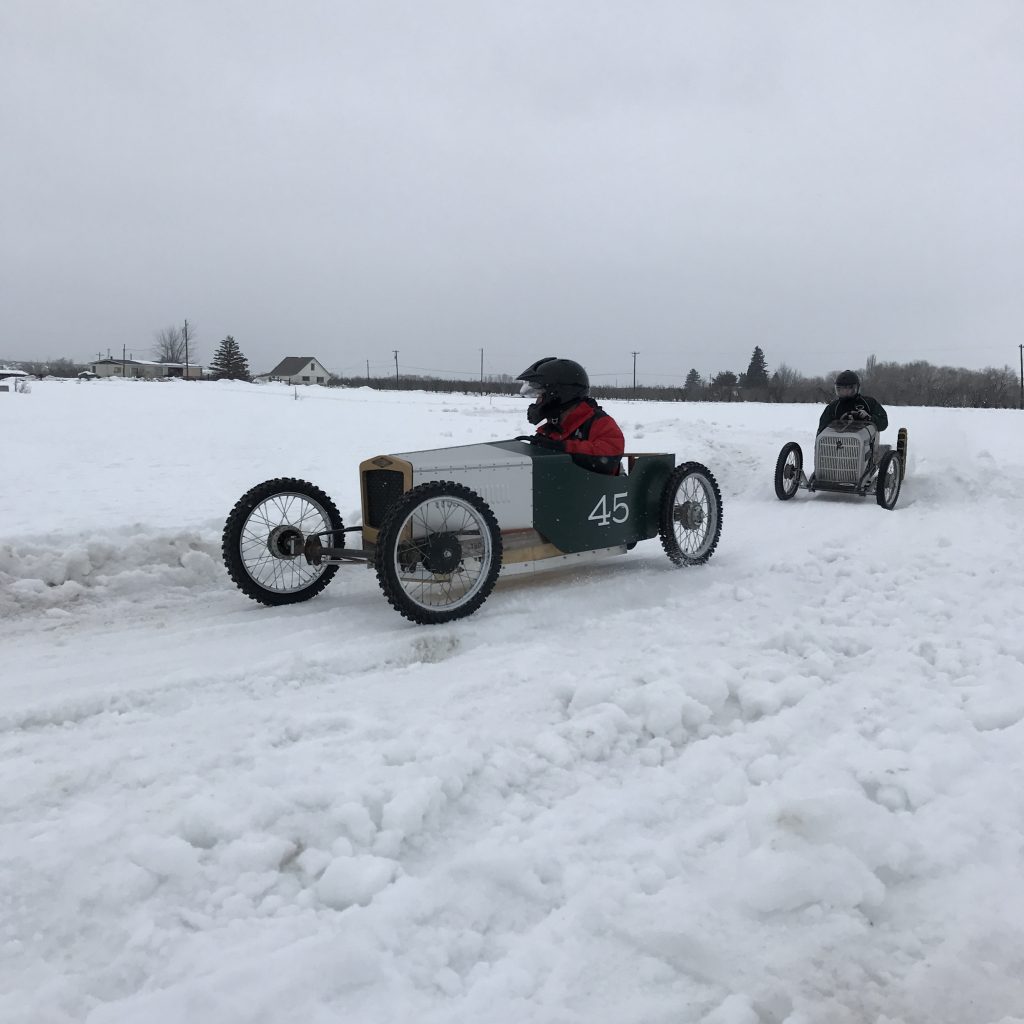
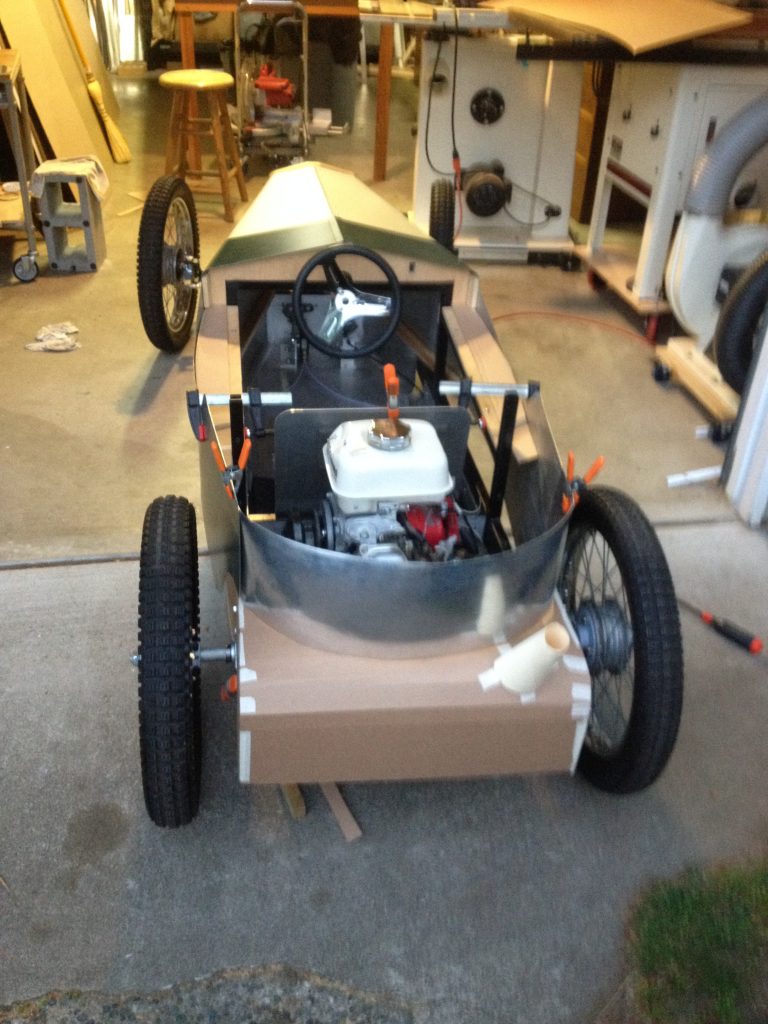
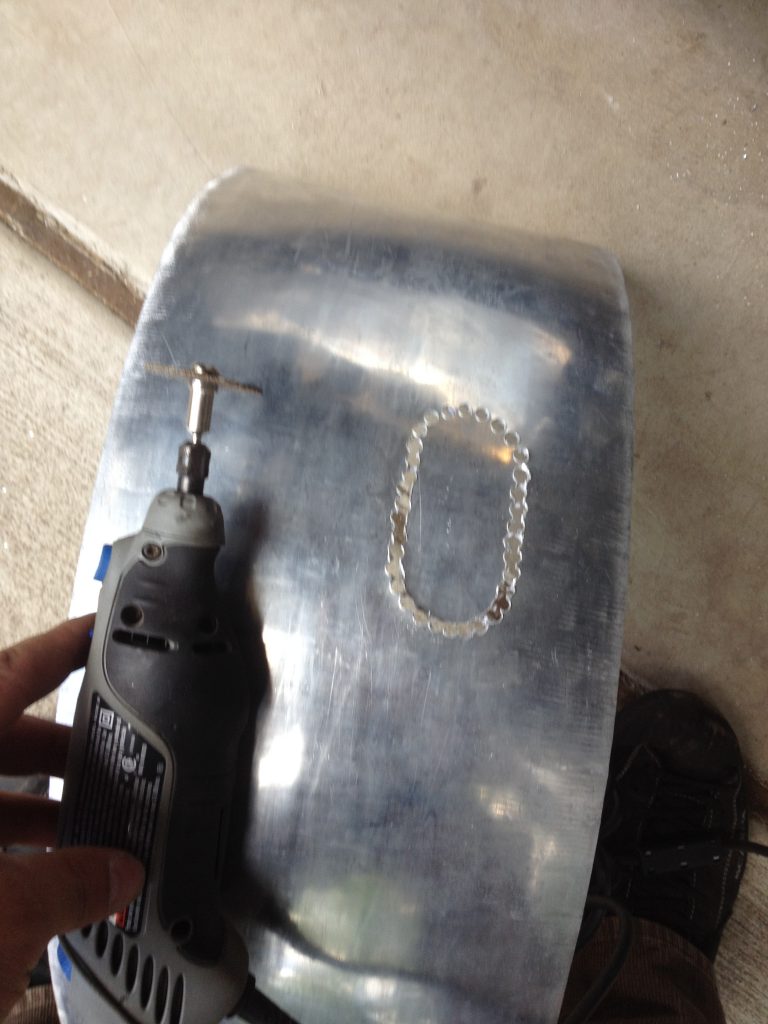
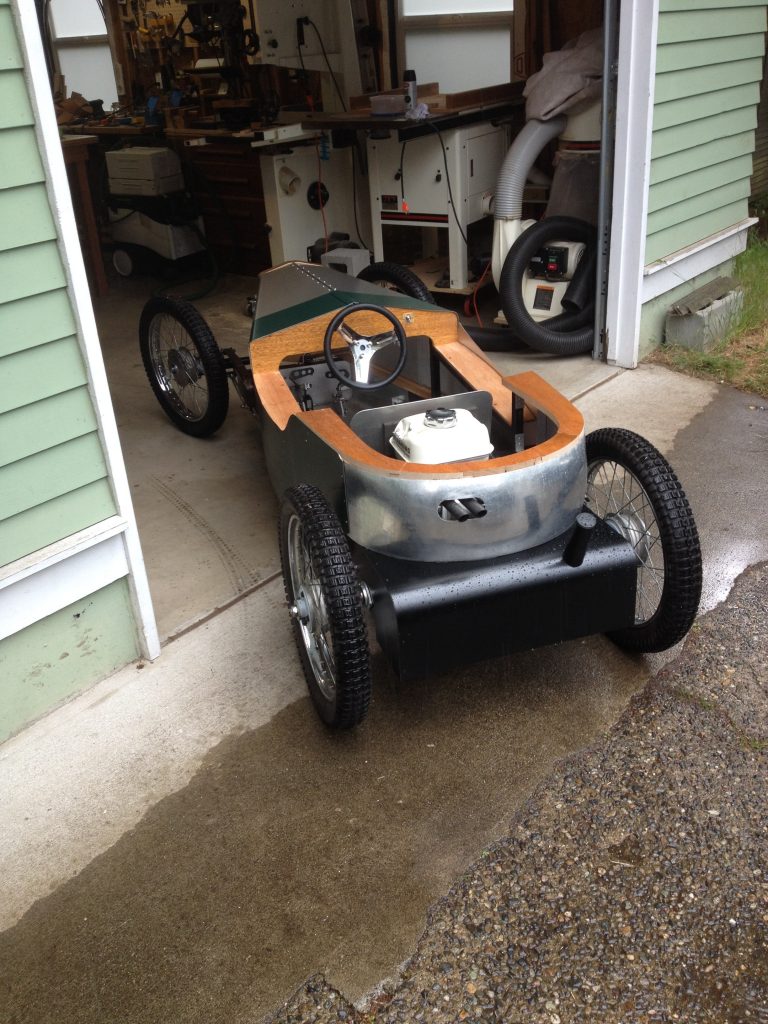
At this point in the build, Pedro dealt with all the mechanical components and I focused on building the body. The panels are all .040 satin wrisco. We made a makeshift sheetmetal brake with a 1.5” diameter pipe to get the radius in the hood panels, which required some math that we quickly threw out and just did by reasoning through the process… and we were better for it. Aluminum piano hinge was used where the panels abut. The compound curved panel on the back, along with the gas tank, were a few years in the making. Prior iterations of the back end were of limited success structurally and aestheticaly, but we are happy with where it is now. The first back end fell off not far from the start line in the orchard. Nothing like a little bit of embarassment to encourage you to try harder.
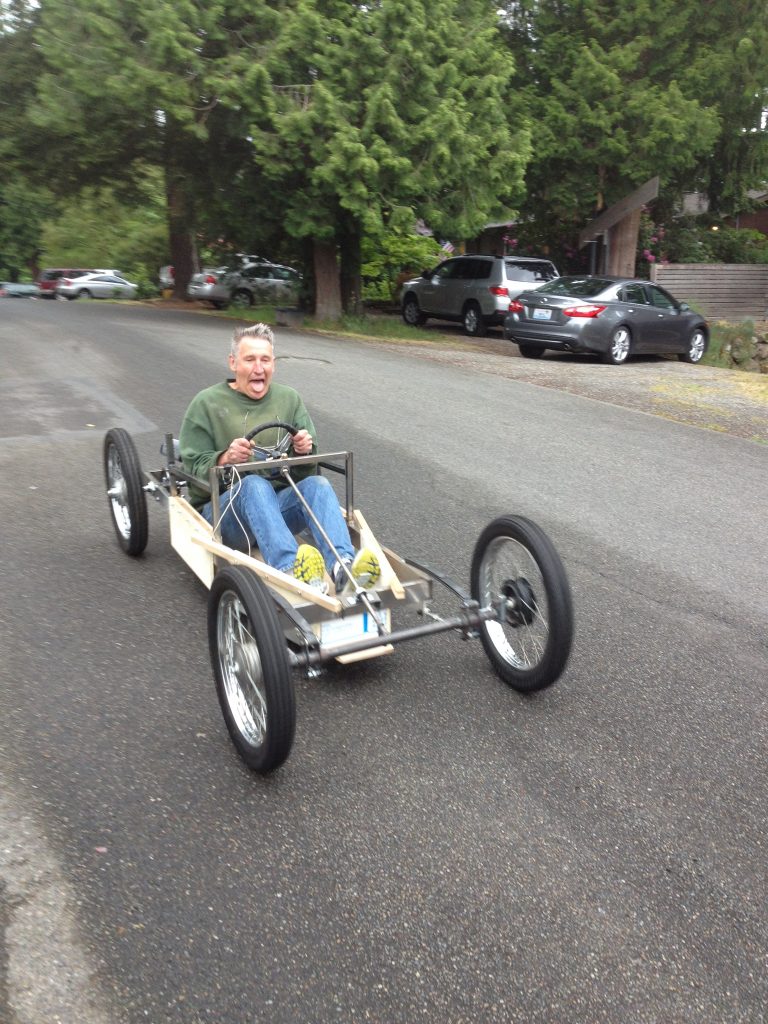
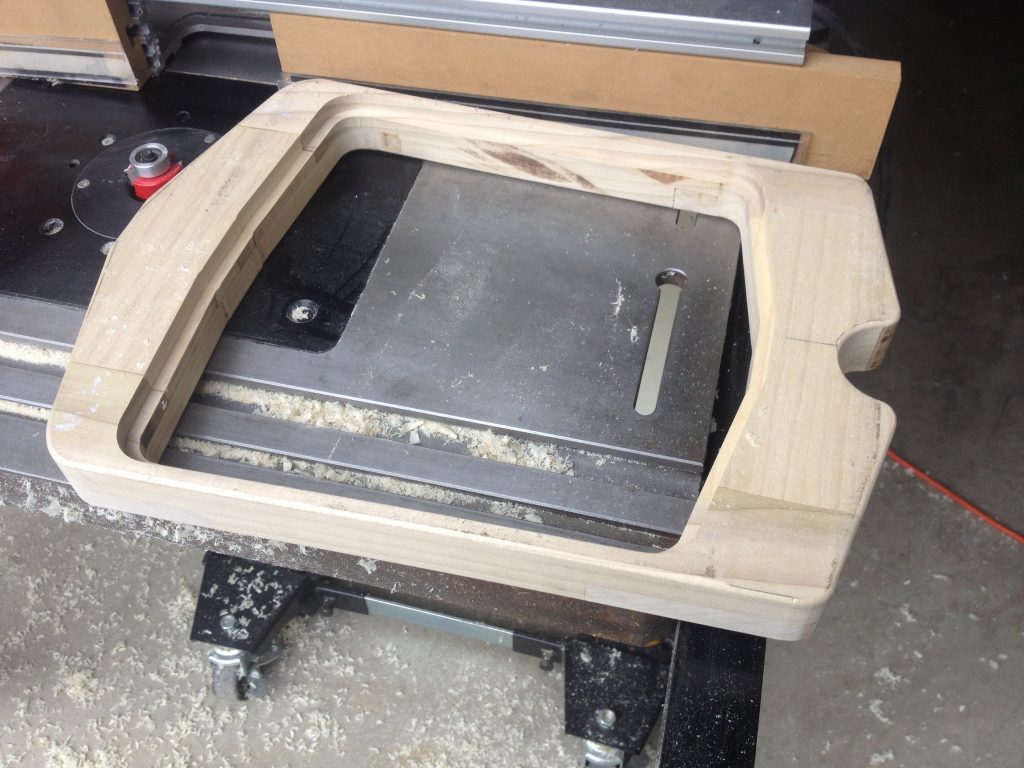
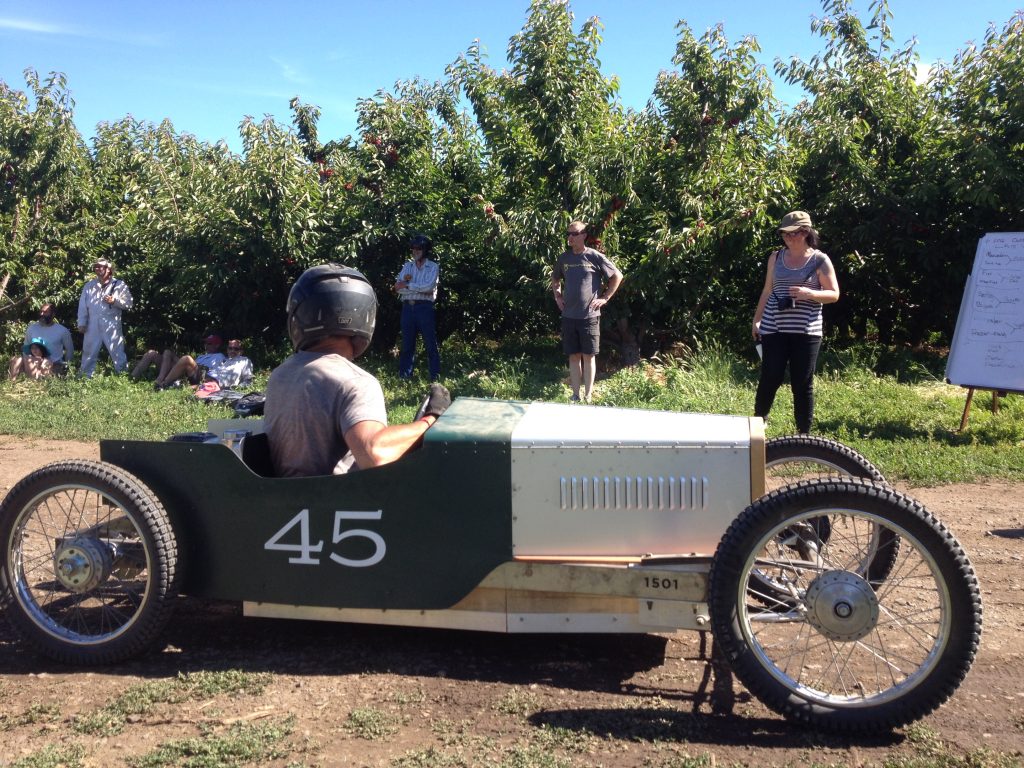
The first bucket we made was 1/2” shop grade birch ply with aluminum angles reinforcing the corners. It looked pretty hoakie, but it held up well and kept our center of gravity low enough that I could do donuts on asphalt with the thing. We decided that it added significantly to the weight, so with the help of “we have the technology” Bruce, we decided to rebuild it similar to the floor boards in Boeing planes by sandwiching 1” structural foam between two sheets of 040 aluminum that had radius 90 degree bends made using our math free bending process. Pedro epoxied the sandwich together and cured it in the oven he uses for his line of work. We bolted the new bucket on to the frame and admired the fact that it looked period correct. What we had an inkling of at the time was that we had raised the center of gravity 1”. That inkling that this 1” may make a difference in the ride became a clear reality when the kart went up on 2 wheels at Tieton and we were out for the day. An increase in tire pressure played a role as well to be sure, but it handled different… so we got rid of the luxurious 3” foam block under our ass! There is a kayak seat in there now with hip support to keep us low and not sloshing around. ( Redfish Kayaks out of Port Townsend makes custom closed cell foam seats. They are not period correct, but may save you some pain. )
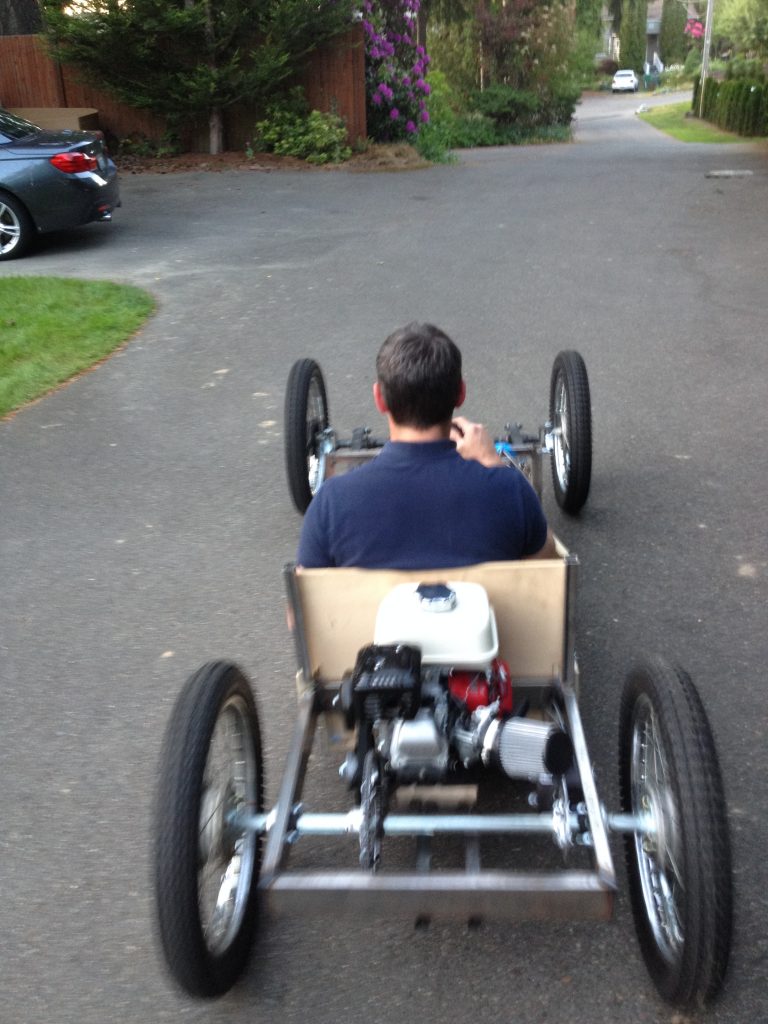
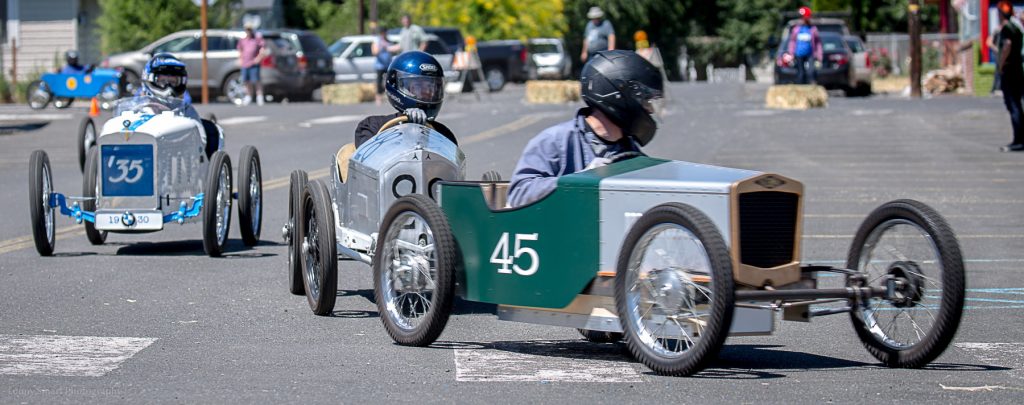
But I am getting ahead of myself. Pedro spent much time on the cyclekart forums trying to figure out the retrofit bearings for the CT90 wheels. Many builders chose to go with 5/8” spindles because they could not find bearings with the right ID / OD combination for the 3/4” spindles. Pedro went to great lengths to find those bearings and we used the 3/4” spindles in the end, and we could not be happier. After seeing many of those 5/8” spindles fail, the extra effort was well worth it. SO, once we got the Frazer Nash together and believed it was going to work, we brought it up to Tuco’s for the first run. I drove it down the street and on the way back up the hill the front wheels started to seize up. There is a nylon bushing on the spindle that is supposed to ride against the race of the bearing, but was not for reasons I don’t remember now. It was melting and bulging. We returned to the shop and made some adjustments per Tuco and had it running again. Another thing to note about those front hubs that a few other people missed is that inside the hub and on the spindle, you need to insert a short length of tube to run against the inside races of the bearings. For new builders, take note. It’ll save you a lot of headaches. Pay attention to what is touching the bearing races so that the bearings can do their job.
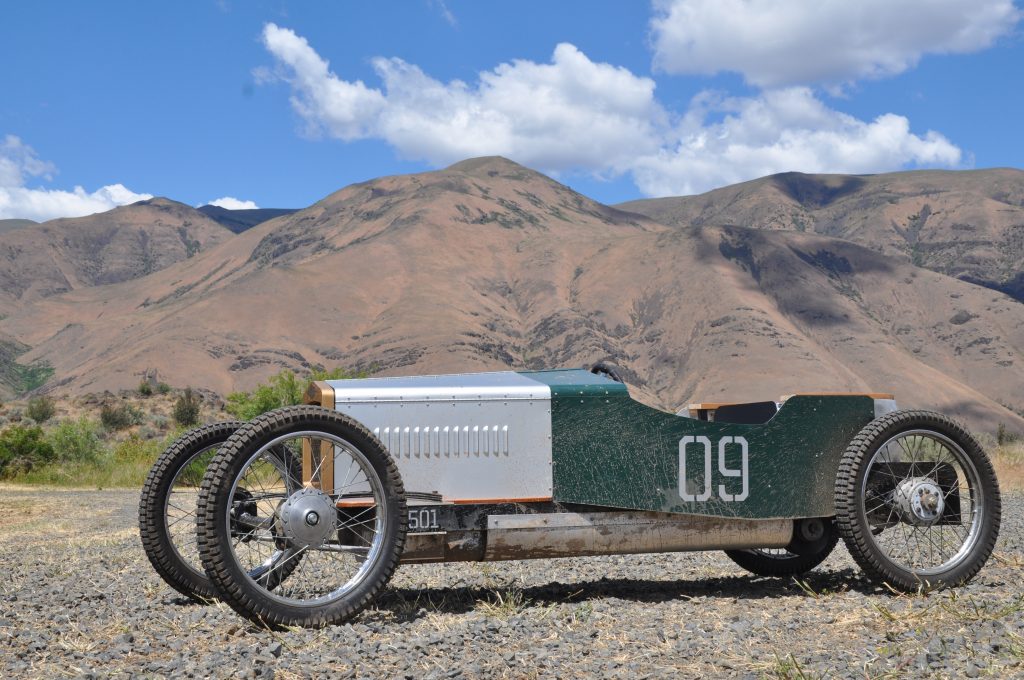
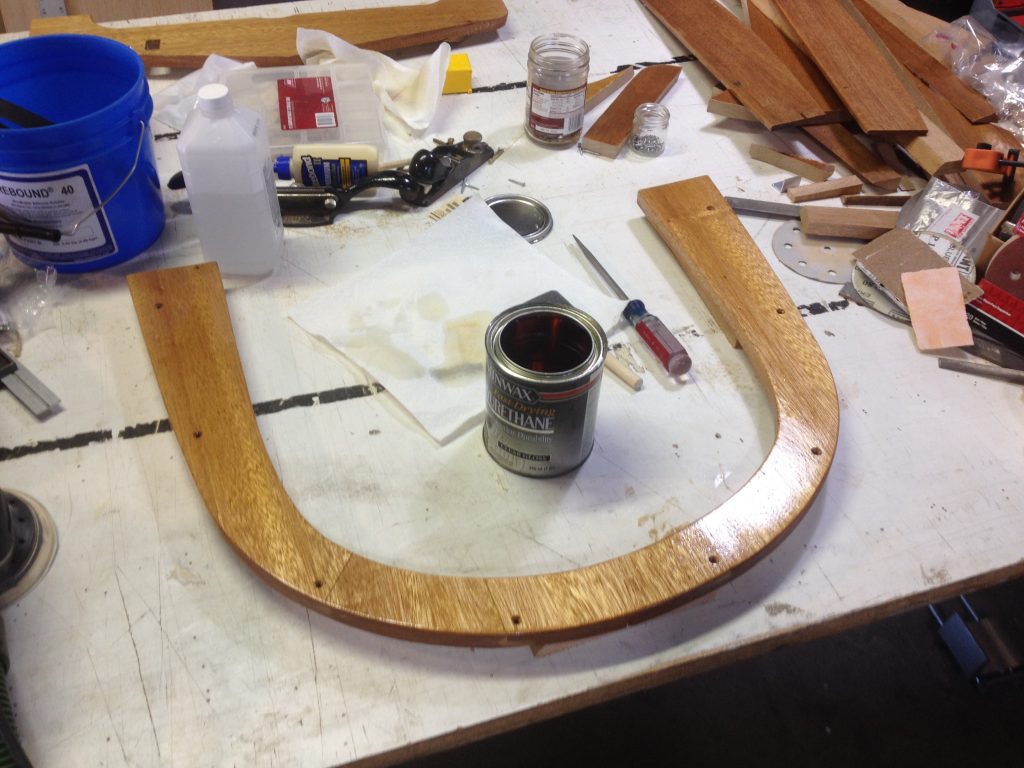
After 5 years of racing and remodeling the Frazer Nash, it just keeps improving with new components and nice dents and scrapes on older components. A purveyour of fine hardwoods ( my neighbor across the street ) asked me a few years back if I was interested in the 12” x 1” x 12 foot lengths of clear grain Phillipine Mahogany he was removing from his 50’s era house. Well, yes sir…. I would like those. They sat in the rafters for years until one afternoon I was looking up in the shop and noticed them there, and a lightbulb went on ( in my head ). There was the trim for the Frazer Nash cockpit. And so it was… with a bit of cutting, sanding, and varnishing.
I did not know much about Mr Archibald Frazer Nash when we started the project, but he makes us even prouder of the choice learning what kind of fella he was. Rather than risk making a mess of his bio, I direct you to David Thirlby, who has written books on the Frazer Nash and Archie, or to the Frazer Nash Car Club, which is keeping alive the memory of the man and the vehicles.
I will say this about Archie… he ( and others like him from that era ) represent the SPIRIT of cycekarting. The cars are only expressions of that spiritedness. They may be gone, but that spiritedness lives on.
TECHNICAL SPECIFICATIONS
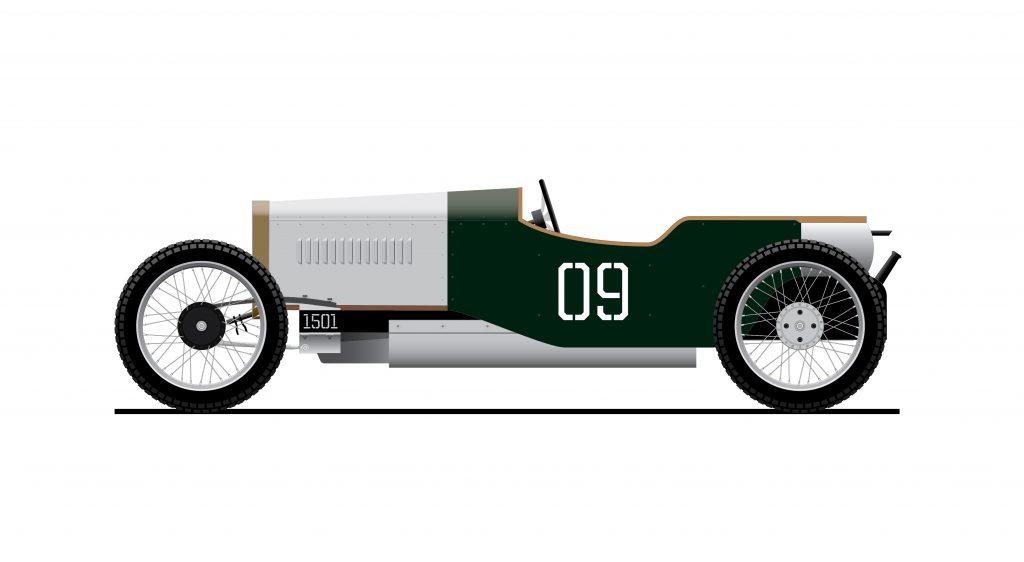
Chassis No.: 1501
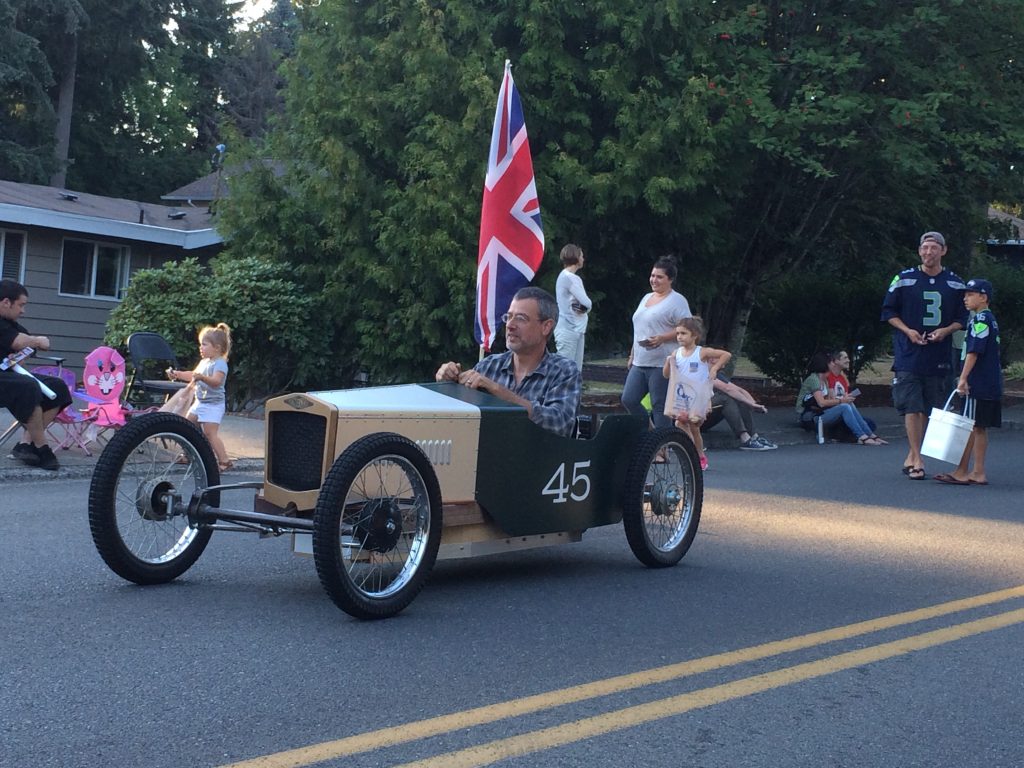
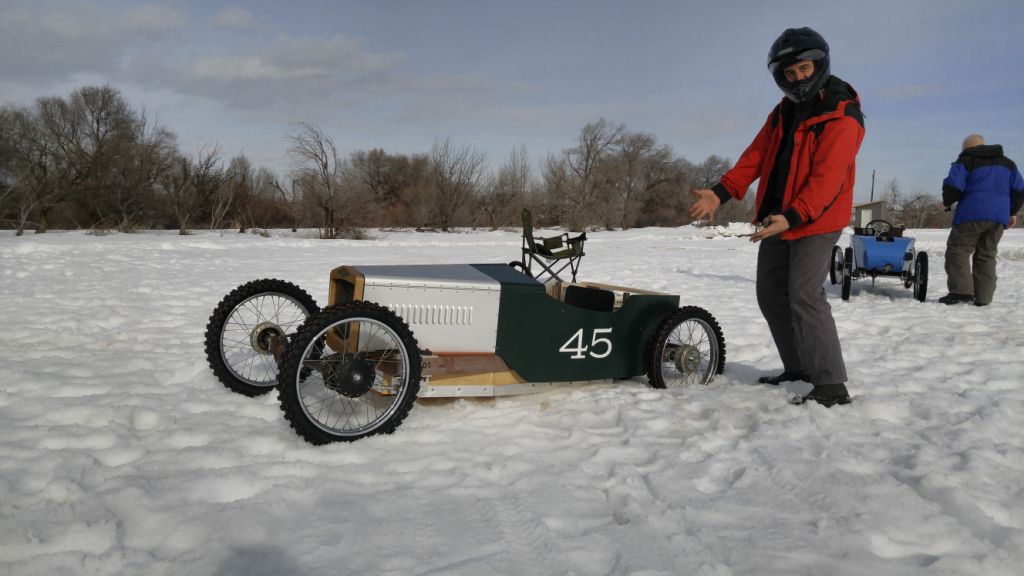
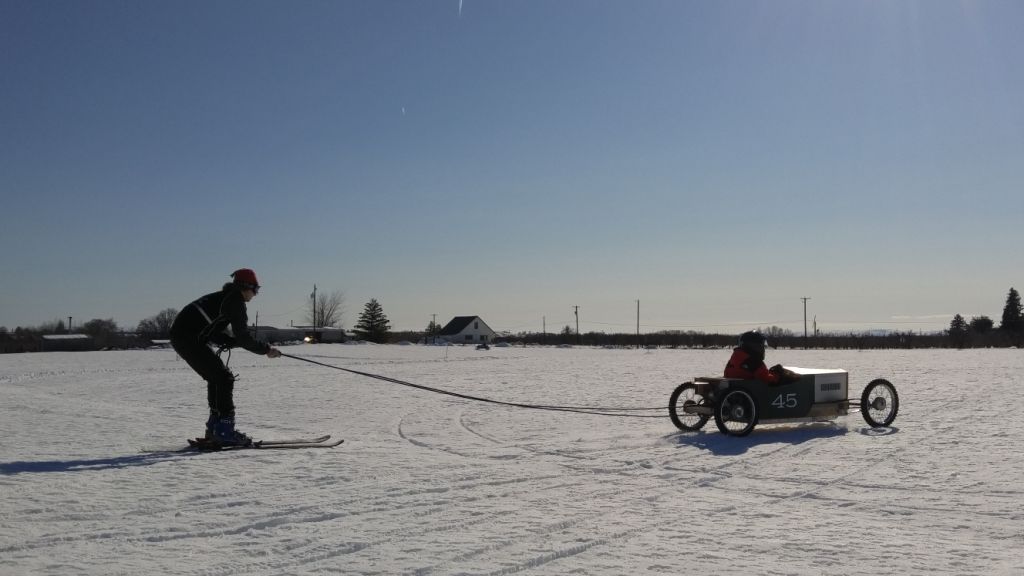
Running No.: 09 (previously 45)
Wheelbase: 78 1/8″
Front track: 38″
Overall length: 102 1/8″
Height at driver wheel: 31 1/2″
Wheels: CT90
Motor: Honda GX200
CVT: Comet TAV2
Ratio: 8T – 60T
Brakes: dual hydraulic disk
Ground clearance: 5 3/4″
Weight: 275#
Rear track: 32 7/8″
Body width: 27 7/8″
Tires: Shinko Golden Boy 2.75 x 17
Motor mods.: Stage 1, Keihin carburetor
Yellow spring, pin 2
Chain: #41
Seat height from ground: 7 1/4″


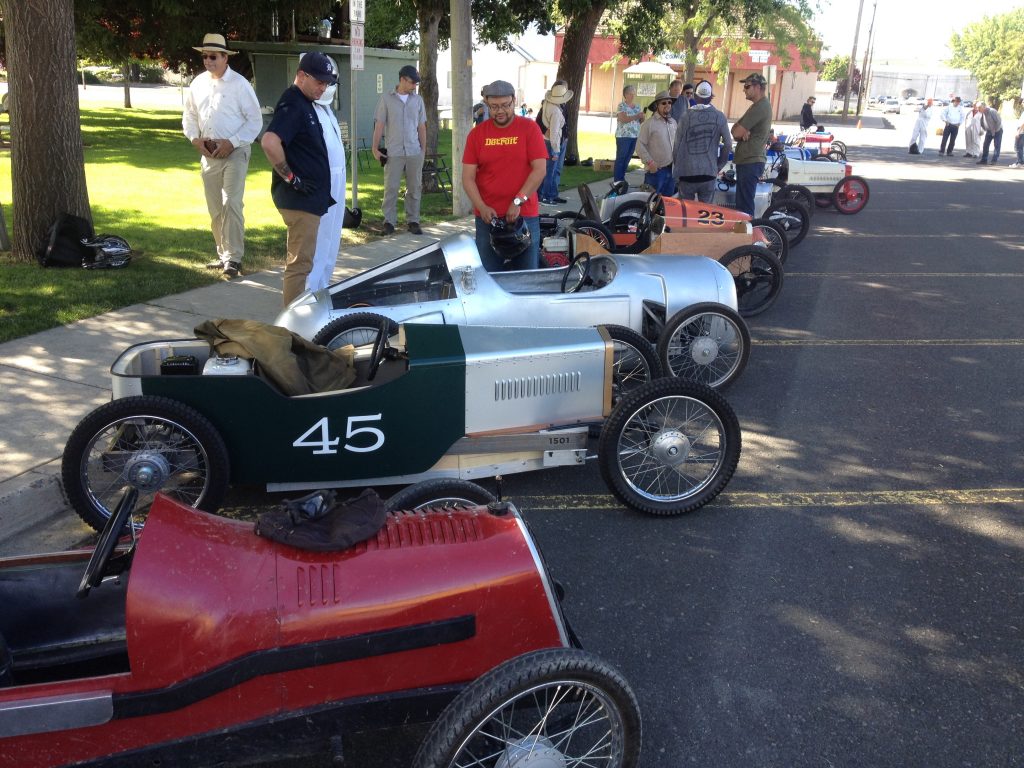

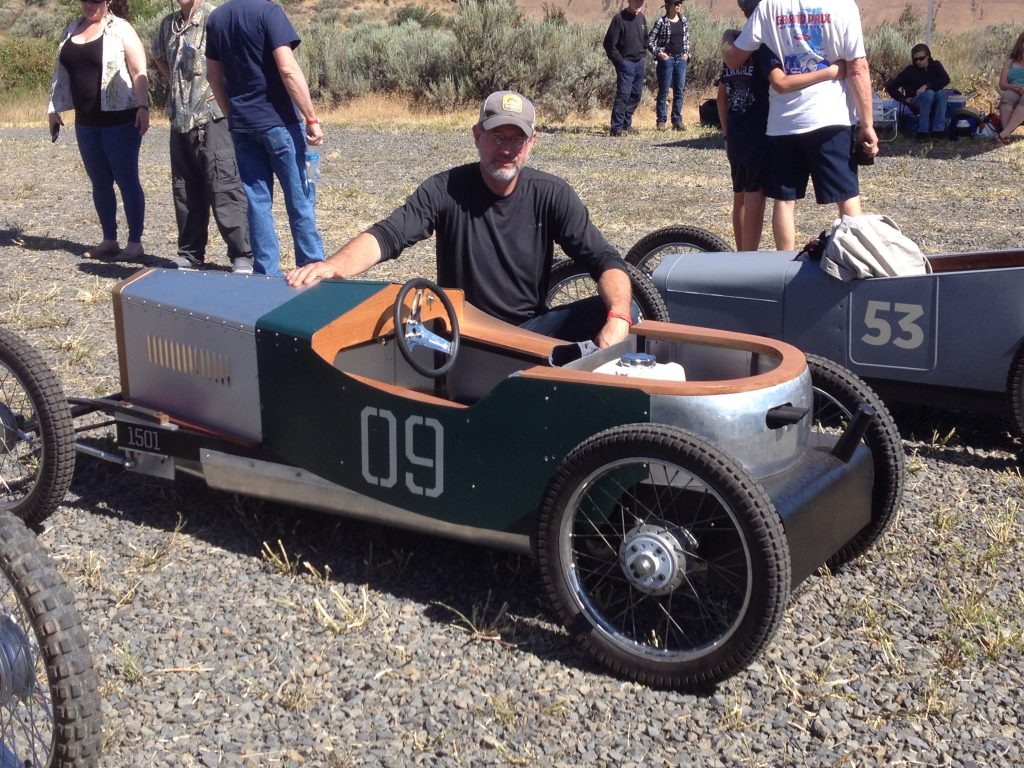
by Remi
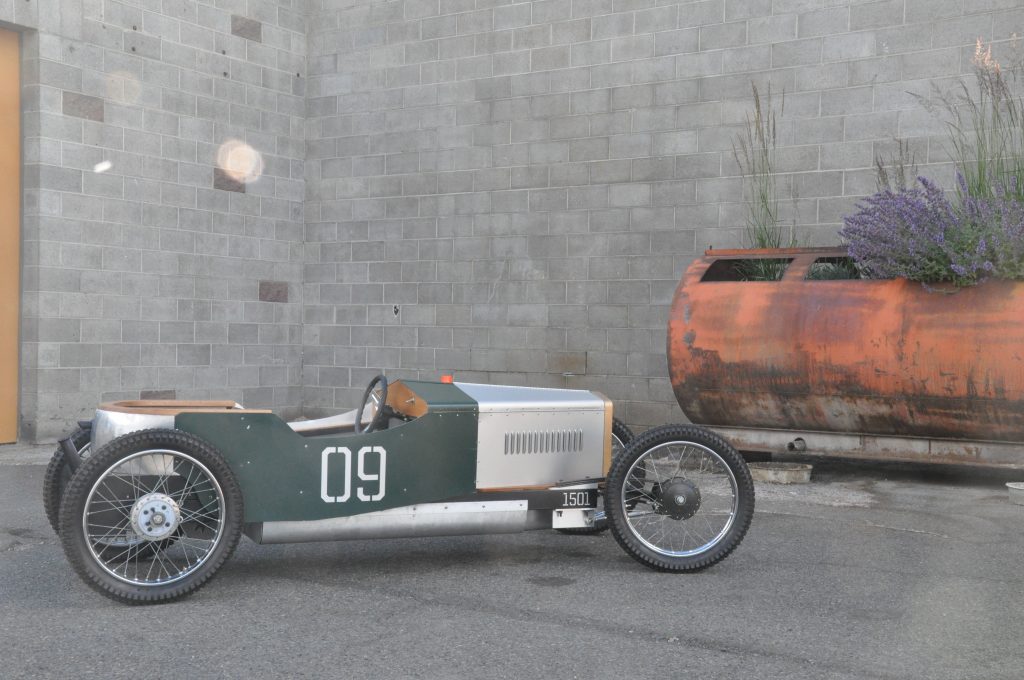
When I first saw this at Vashon, it was the most instantly recognizable FN. What is now known most unPC like as the “African’s belly” is a work of art. Glorious!
A lovely Cyclekart for sure. Well done.